How to install WordPress on HostGator
How to WordPress
In this tutorial we will learn to install WordPress on HostGator.
Requirement
In order to use WordPress your HostGator server plan must have the following.
- PHP version 5.6 or greater. If you are getting the lastest version then it's an awesome deal.
- Database like MySQL version 5.6 or greater or MariaDB version 10 or greater.
- Running Apache or Nginx.
cPanel - Manage your server
If you are buying hosting plan from HostGator then chances are you will also get cPanel which gives you GUI (Graphical User Interface) to configure and manage your server.
Using cPanel you can easily setup databases, configure email accounts, upload files to your server. You can also install and manage SSL certificate and make your site secure.
Which hosting plan to buy?
If you are starting out then you can checkout HostGator Linux shared hosting Starter or Hatchling plans.
They are cheap and provide sufficient compute power to run your WordPress website or blog. Once you are comfortable and your website starts to get traffic (visitors to your website/blog) then you can easily upgrade to a bigger plans.
If you are only going to host one single domain then check out their Hatchling plan.
If you want to host multiple domains down the line then go with Baby plan.
Getting WordPress
WordPress is Free and you can download the latest version from WordPress website.
So, go ahead download and unzip the WordPress package and join me in the next step.
Create database for your WordPress website/blog
Time to login to the server and create database for your WordPress website/blog.
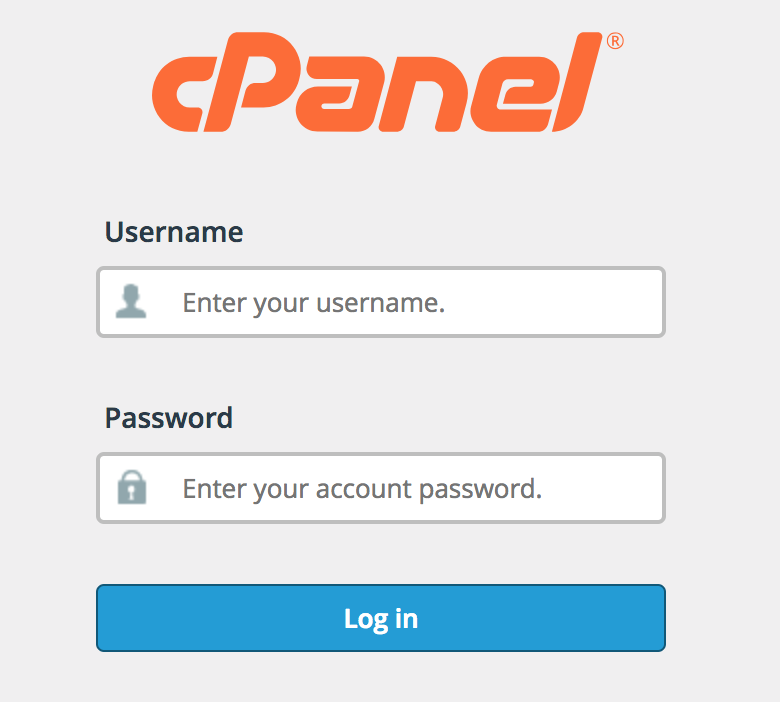
Login to your HostGator cPanel using the server credentials.
Now go to Databases section and click on MySQL Database Wizard.
Your cPanel Database section may look like the following.
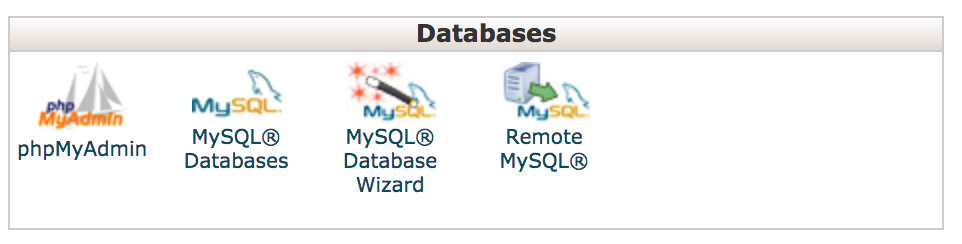
Or like the following.

Now follow the given steps to create a database for your WordPress site.
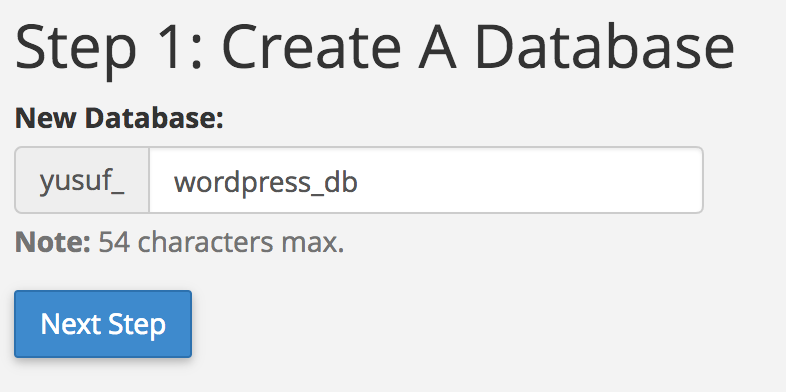
Step 1. Create a Database
Enter database name like wordpress_db or blog or any other name that you want to give to your database and click Next Step.
I prefer wordpress_db as it stands for WordPress database.
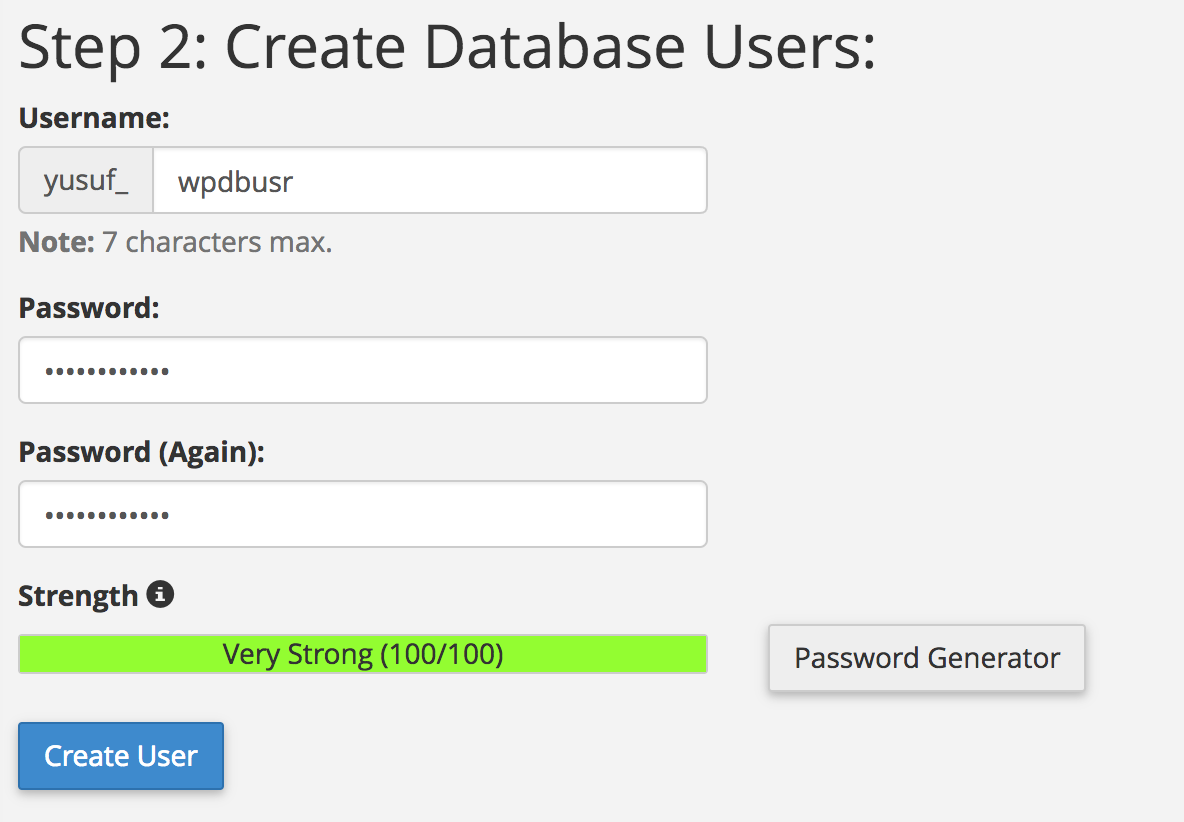
Step 2. Create Database Users
In this step we have to create a database user for the database. So, go ahead and fill the database user name.
The database user that you will create in this step will have access to your WordPress database.
So, when WordPress code will execute it will use this user to save data in the database.
I prefer wpdbusr as my database username as it stands for WordPress Database User. Feel free to use any other name you like.
Set Password for the database user
Now enter a strong password or generate a strong password for the user. Once done click on Create User button.
Don't use weak password for the database user. Try creating a complex password using uppercase and lowercase letters, symbols and digits and atleast 12 characters.
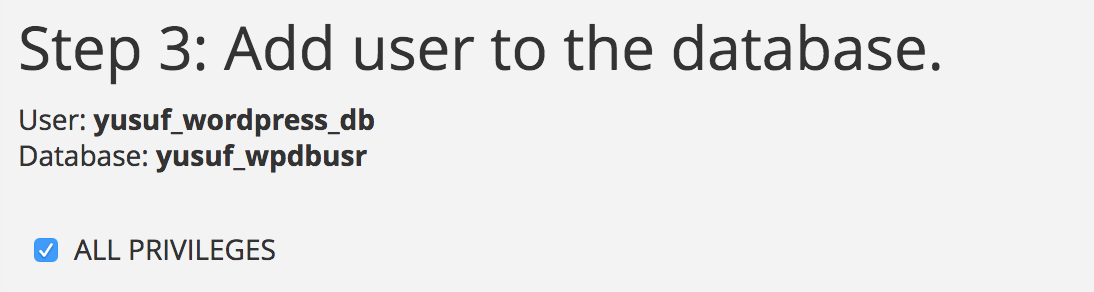
Step 3. Add user to the database
In this step the user we created in Step 2 is added to the database we created in Step 1.
Go ahead and tick the All Privileges checkbox and click Next.
You have to give the database user all the privileges for it to have complete WordPress database access.
Step 4. Complete the task
You have successfully created the database and the user. Lets move to the WordPress configuration step.

WordPress config.php file
Alright, you have now successfully created a database and a database user and connected them. Now we will configure WordPress.
Open the unzipped WordPress directory that you downloaded earlier. Inside it you will find wp-config-sample.php file. Rename it to wp-config.php.
Now, open wp-config.php file in a text editor like NotePad++ or Sublime Text or NotePad or any other text editor that you use.
Find the following section in the wp-config.php file.
// ** MySQL settings - You can get this info from your web host ** //
/** The name of the database for WordPress */
define('DB_NAME', 'database_name_here');

/** MySQL database username */
define('DB_USER', 'username_here');

/** MySQL database password */
define('DB_PASSWORD', 'password_here');

/** MySQL hostname */
define('DB_HOST', 'localhost');
You have to set the DB_NAME (Database Name), DB_USER (Database User name), DB_PASSWORD (Database User password) and DB_HOST (Database Hostname).
Go ahead and set the value that you used while creating the database.
For this example lets assume we have the following details.
Database name: yusuf_wordpress_db
Database username: yusuf_wpdbusr
Database User Password: 5t!Z8r&U5f@J
Database Hostname: localhost
Then we will set the following values.
// ** MySQL settings - You can get this info from your web host ** //
/** The name of the database for WordPress */
define('DB_NAME', 'yusuf_wordpress_db');

/** MySQL database username */
define('DB_USER', 'yusuf_wpdbusr');

/** MySQL database password */
define('DB_PASSWORD', '5t!Z8r&U5f@J');

/** MySQL hostname */
define('DB_HOST', 'localhost');
Database hostname will be localhost unless you get something else.
Set the values correctly in your wp-config.php file otherwise, you will get database connection error.
Upload WordPress files
Now you have to upload all the WordPress files that you have unzipped along with the modified wp-config.php file to your server.
To upload files you can use FTP softwares like WinSCP, FileZilla, Cyberduck, Free FTP, WS_FTP Professional.
To login to your HostGator FTP account to upload files use the credentials that was provided to you at the time of signup.
To get the FTP details check the FTP Accounts in the cPanel.
You will find FTP Accounts under Files.

Generally they provide the FTP login details via email when you signup. If you are unable to find it then contact their support team.
Where to upload
You have to upload your files in the public_html or www folder.

Lets assume your domain name is http://example.com for this example.
So, if you want to run your WordPress website from http://example.com then you have to upload all the files into the document root folder of your domain.
In HostGator you will find the document root by the folder name www or public_html. Upload all the files there.
So, public_html folder will map to http://example.com.
Subdirectory
If you want to run your WordPress site from http://example.com/blog then you have to upload files in the blog directory.
To run your WordPress website from a subdirector (sub-folder) like blog you have to create blog folder inside the public_html folder and then upload all the files into the blog folder.
So, public_html/blog folder will map to http://example.com/blog.
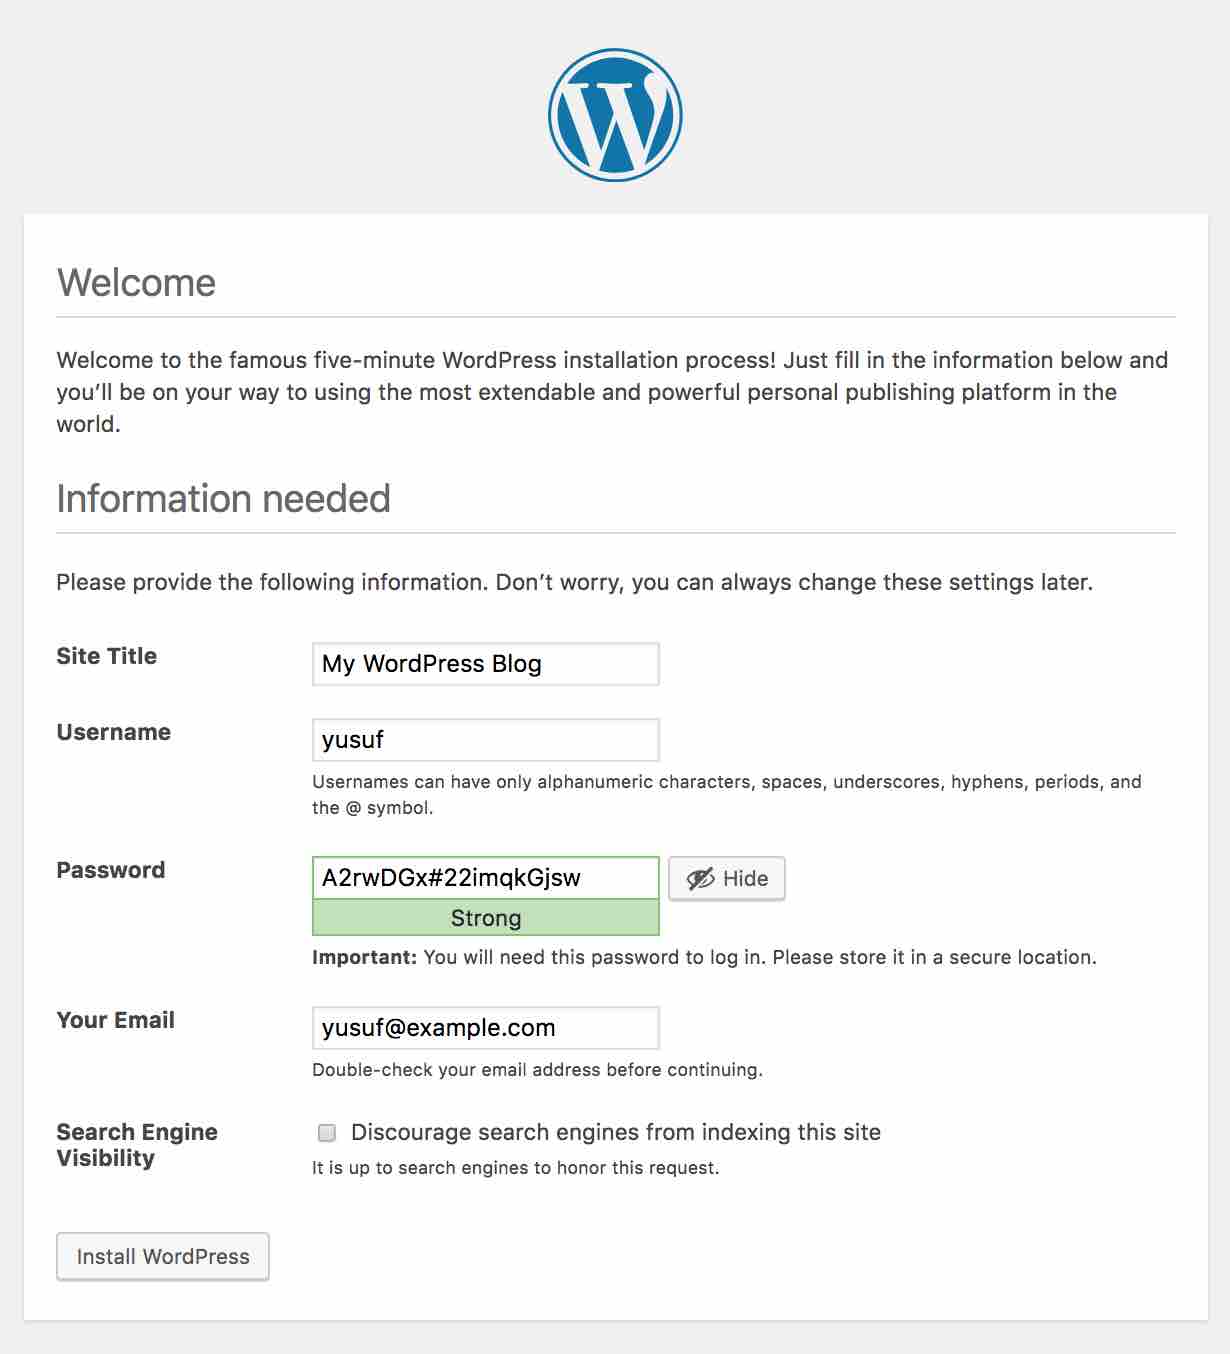
Run WordPress installation script
Assuming your domain is http://example.com.
If you uploaded your WordPress files in the document root (public_html directory) then visit http://example.com/wp-admin/install.php to run the WordPress installation script.
If you uploaded your WordPress files in a subdirectory (sub-folder) say blog then visit http://example.com/blog/wp-admin/install.php to run the WordPress installation script.
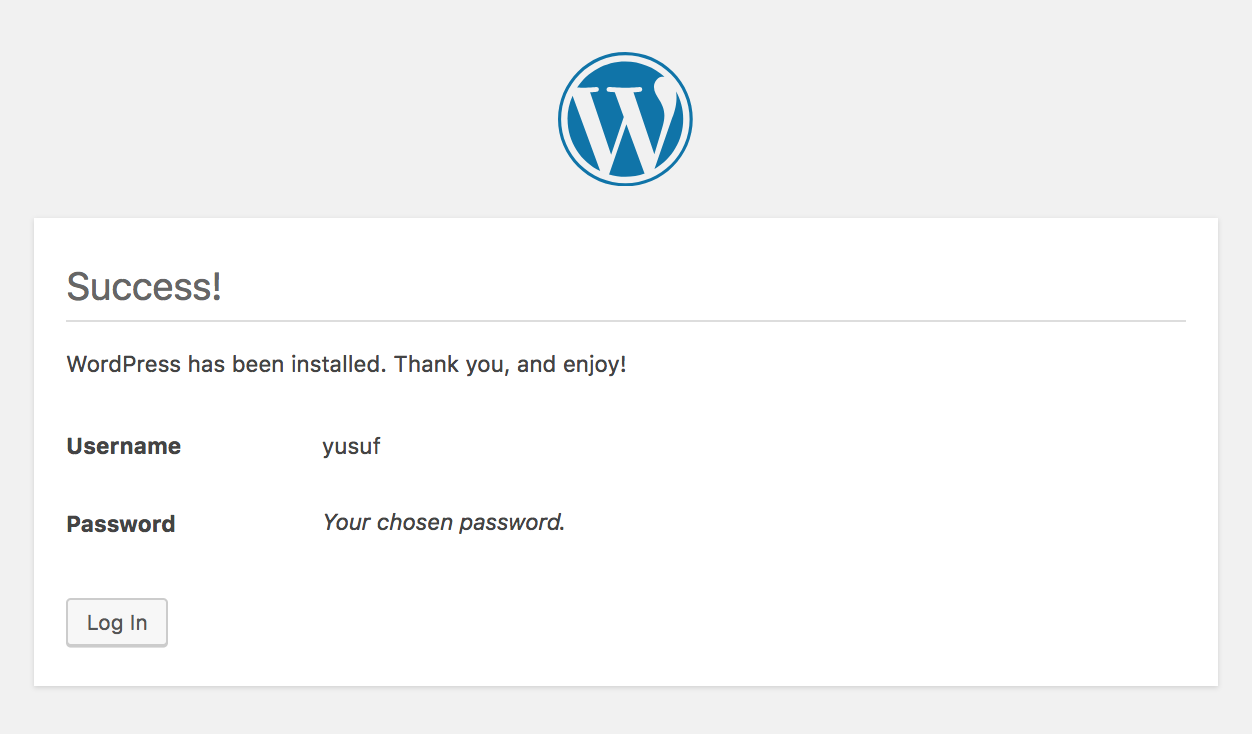
Fill in the details and click on Install WordPress button.
On success you will get a similar result as shown below.
Result
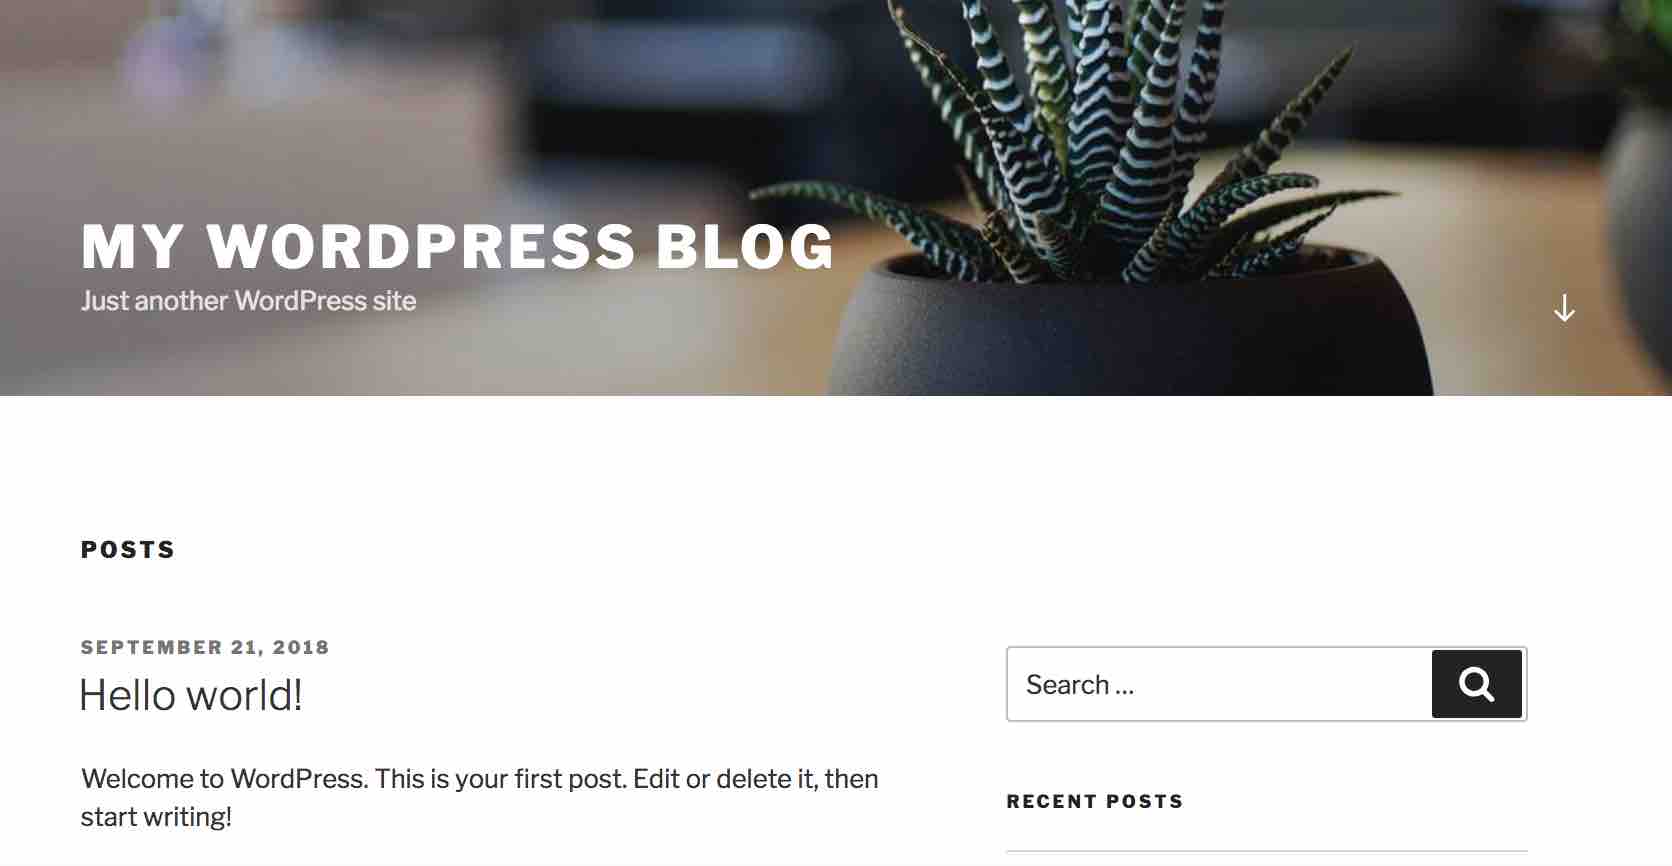
You can now visit your WordPress website or blog by going to your domain.
In the following image I am showing my WordPress blog site landing page.
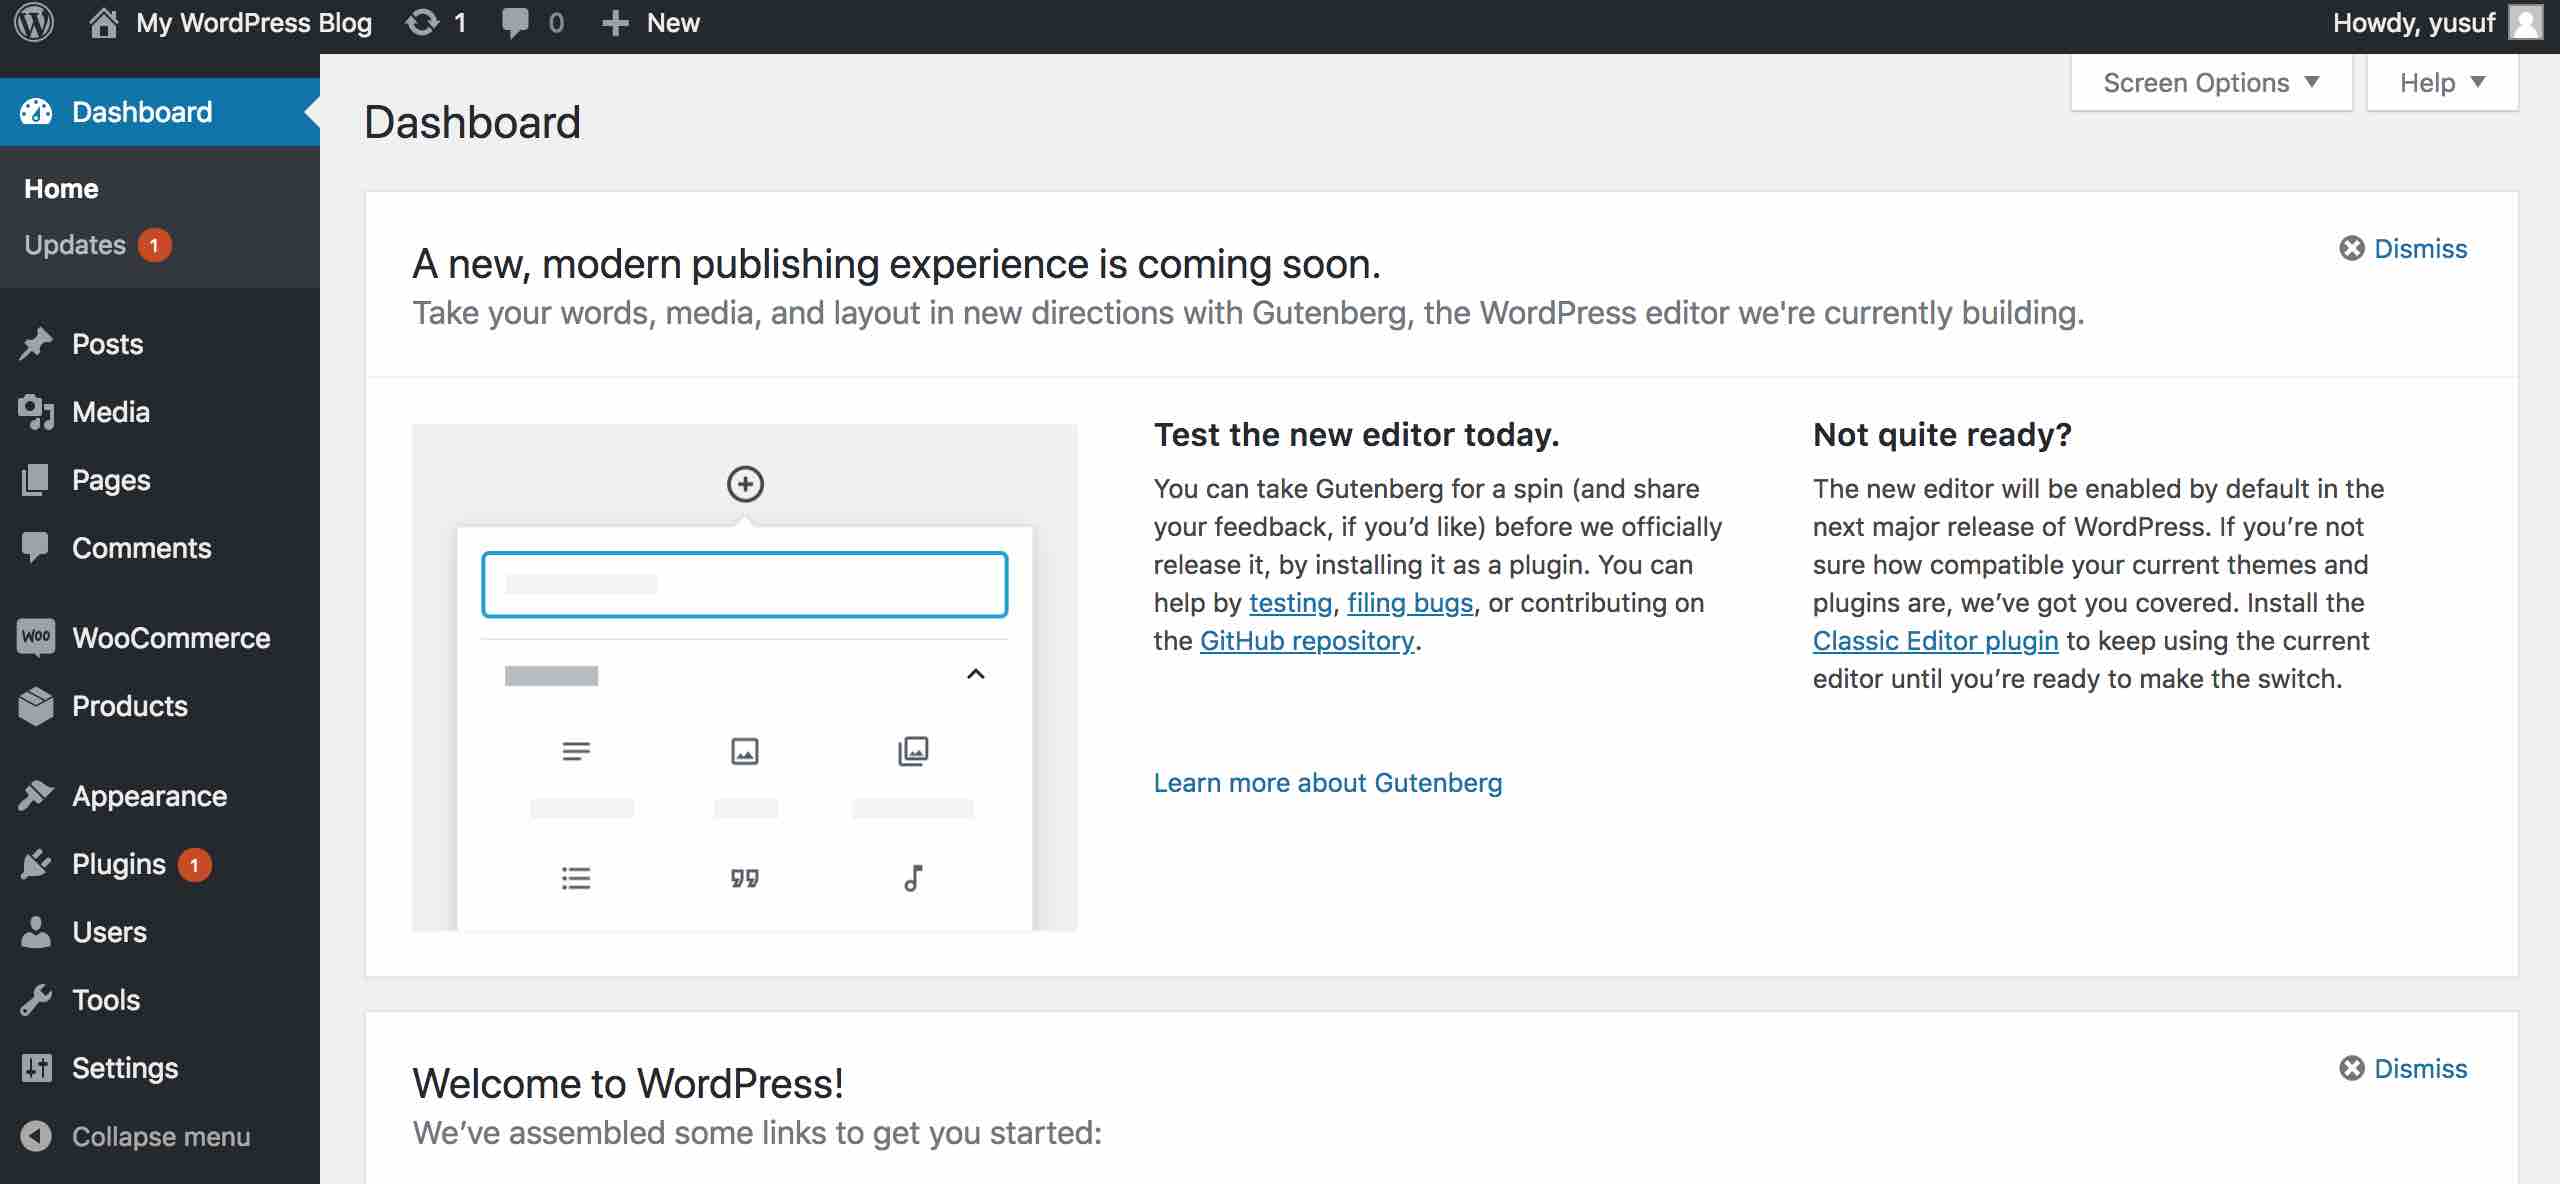
Admin Dashboard
To login to your WordPress Admin Dashboard visit /wp-admin.
So, if your WordPress site is at http://example.com then visit http://example.com/wp-admin.
And, if your WordPress site is at http://example.com/blog then visit http://example.com/blog/wp-admin.
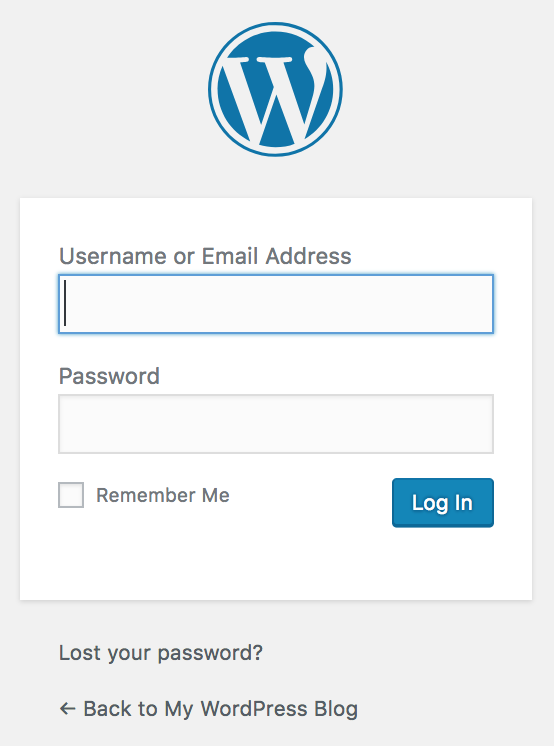
On success you will land on the dashboard page.
Alright, we have reach the end. I hope you will find this tutorial helpful. Please share this with your friends if you find my work useful. Have fun blogging. See you in the next tutorial.
ADVERTISEMENT