How to add custom header image in WordPress
How to WordPress
In this tutorial we will learn to add custom header image in WordPress.
Getting started
Let's say our WordPress website looks something like the following.
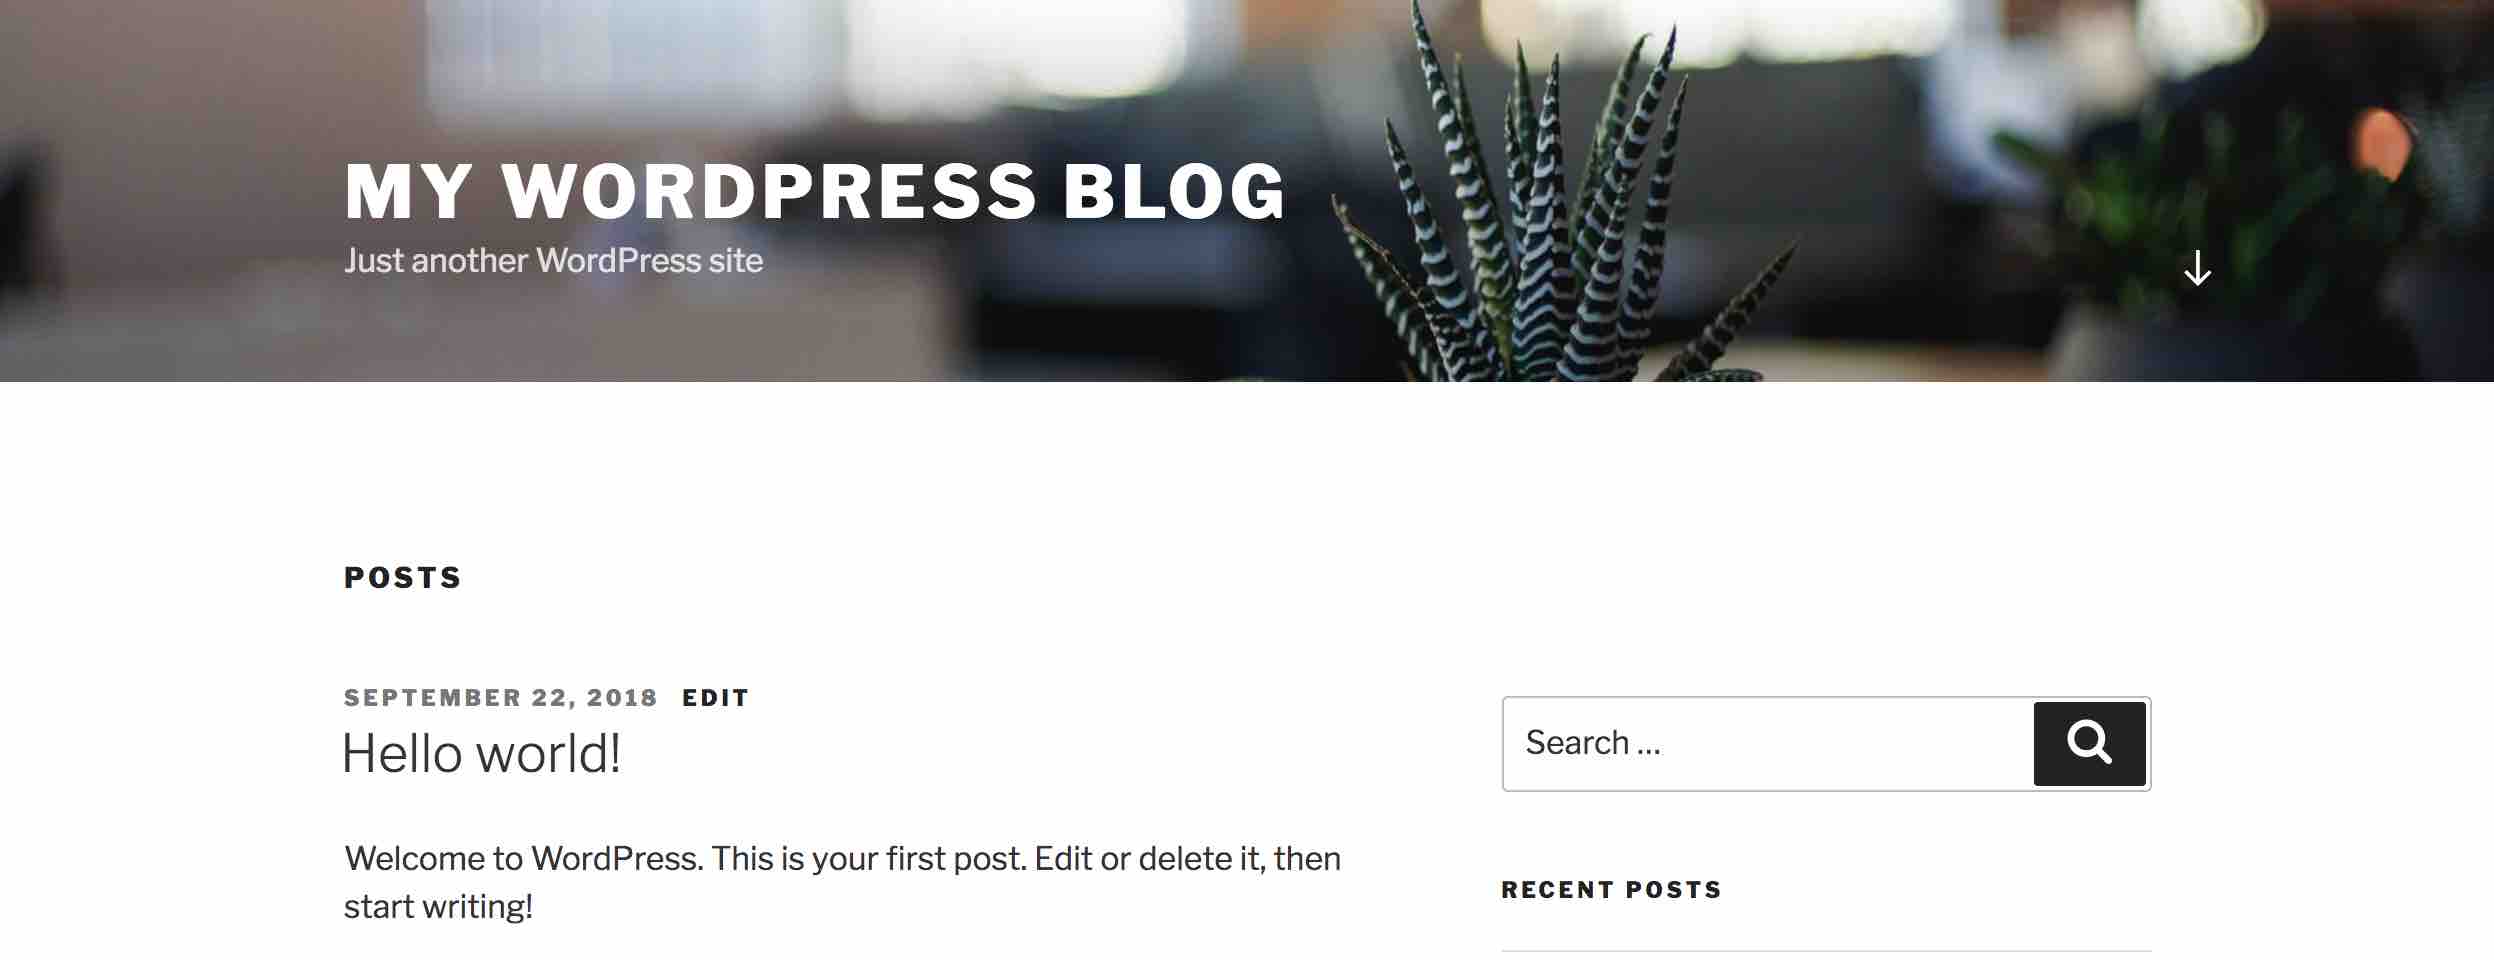
We can see that it is showing the default header image that came with the WordPress theme.
So, lets go ahead and change the header image.
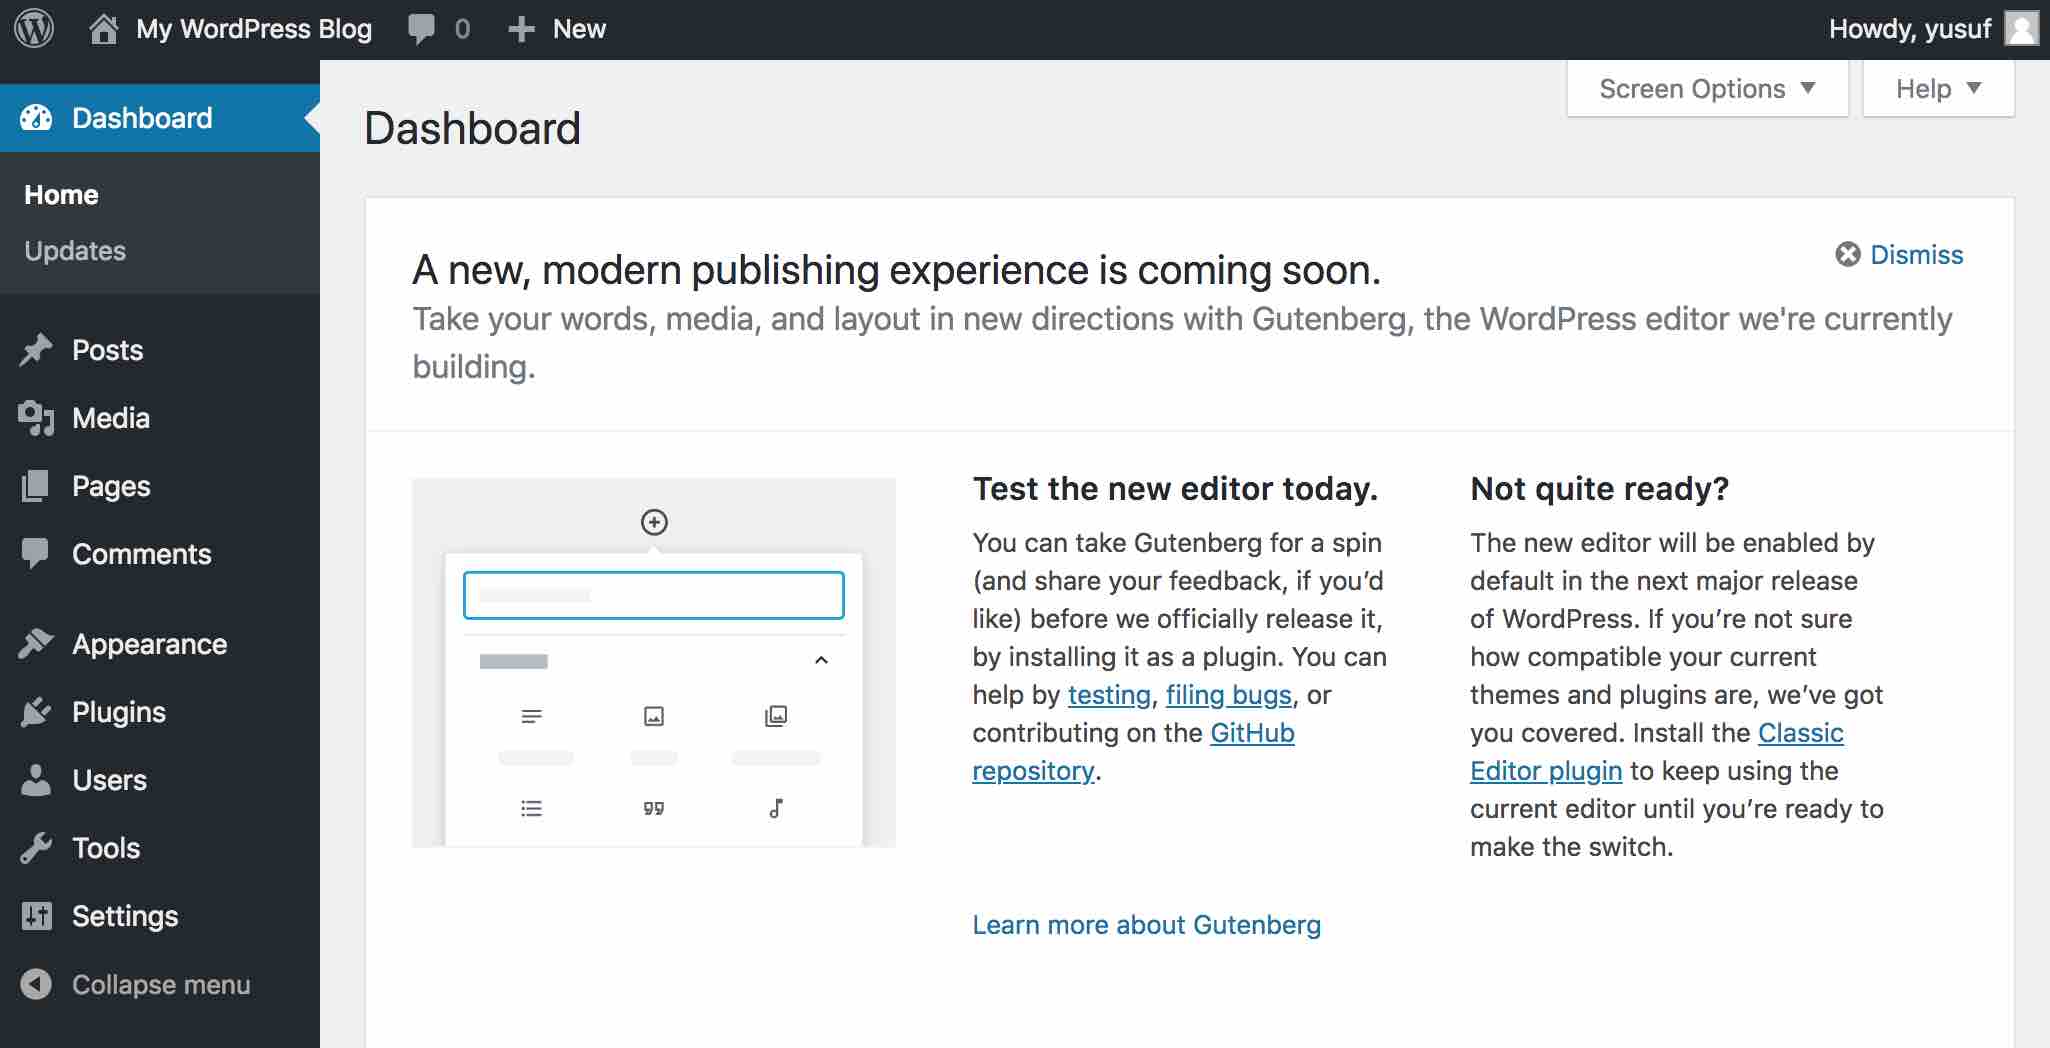
Login to admin dashboard
Login to your WordPress account and go to the admin dashboard.
So, if your WordPress site is running on http://example.com then visit http://example.com/wp-admin.
If your WordPress site is running on http://example.com/blog then visit http://example.com/blog/wp-admin.
Enter your login credentials and you will land on the admin dashboard.
Header
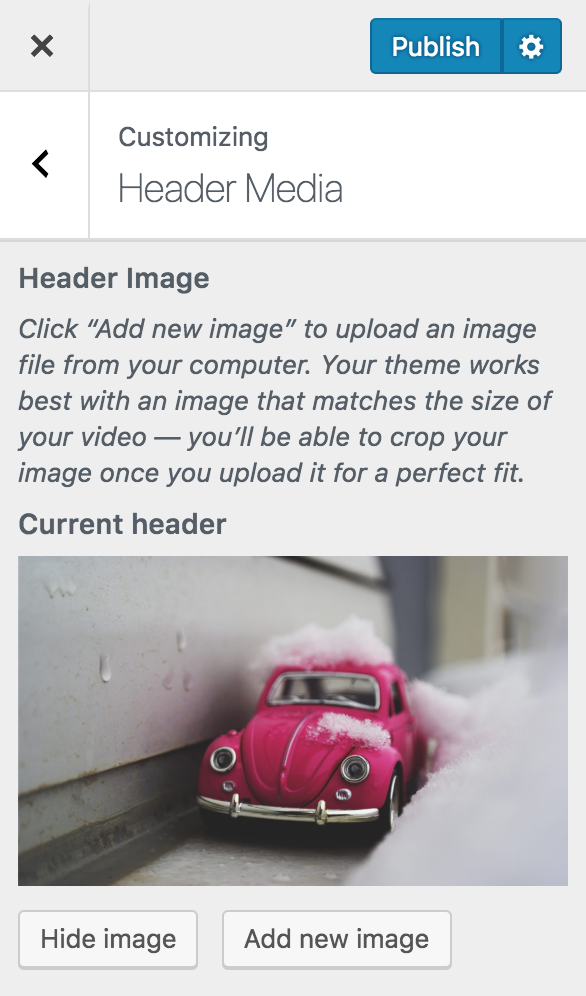
Now, go to Appearance and click on Header.

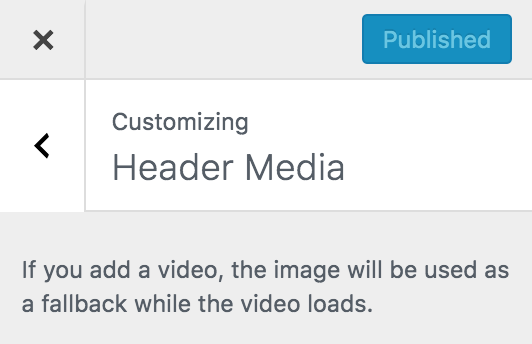
This will take us to the Customize page and we will be customizing the Header Media.
Now scroll down to the Header Image section and you will see under Current header two buttons - Hide image and Add new image.
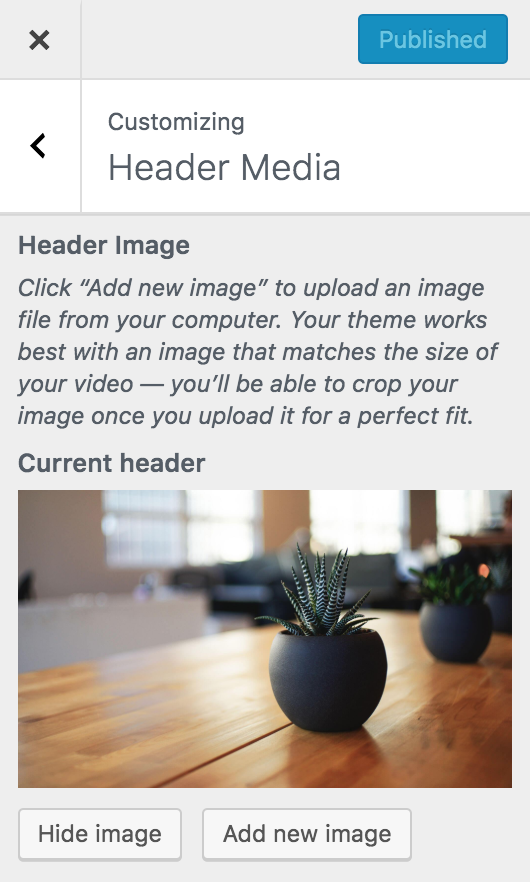
Hide header image
If you don't want to show any header image for your WordPress website then click the Hide image button. Then click the Publish button to save the changes.
Add new header image
To add a new header image click on the Add new image button.
You will be asked to upload a new image file or select any existing image for the header image.
If you want to upload new file then stay on the Upload Files tab. If you already have an image uploaded and want to use that then switch to the Media Library tab and select the required image.

Let's say for this tutorial we want to upload a new image file for the website header.
So, we will click on the Select Files button to upload a new image file.
After selecting and uploading an image we will get the following.
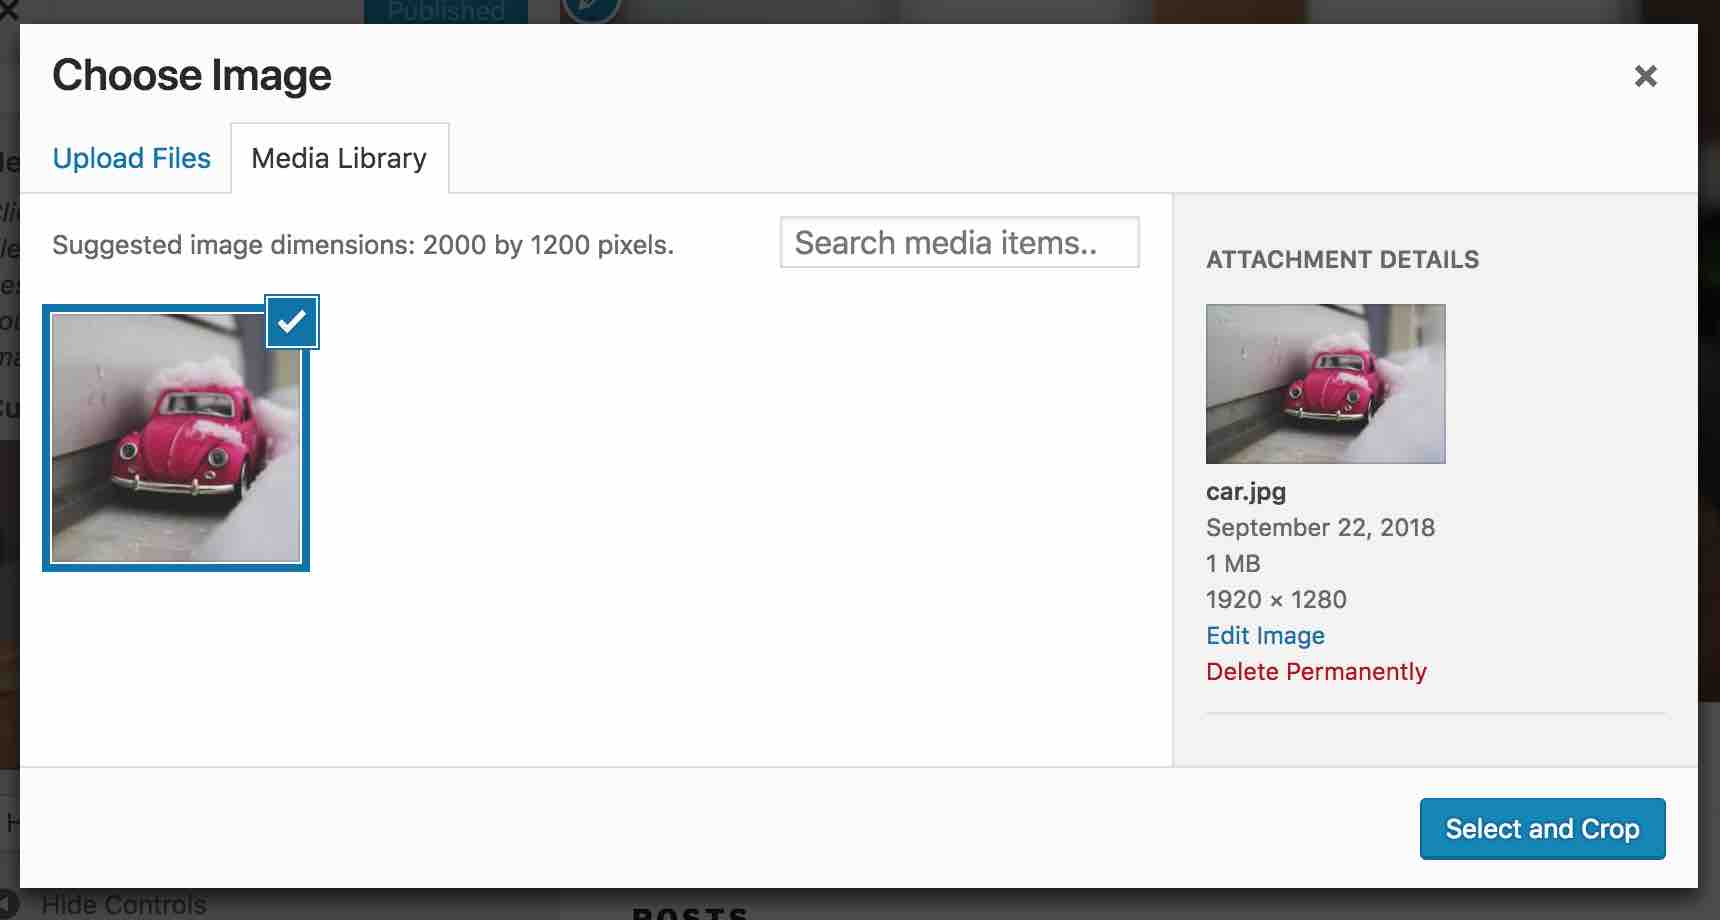
Next, click on the Select and Crop button. This will take you to the Crop Image section.
If you want to crop the image then click the Crop Image button. If you don't want to crop the image then click the Skip Cropping button.

I will go ahead and crop the image by click the Crop Image button. This will crop and save the image.
Now click the Publish button to save the changes.
Result
Now if we visit our WordPress home page we will get to see the new custom header image.
In the following we can see the new header image.

That's all for this tutorial. Thanks for reading. Please share this tutorial if you find it helpful. See you in the next tutorial. Have fun blogging :)
ADVERTISEMENT