How to install Apache, MySQL, PHP on macOS Mojave 10.14
How to Mac
In this tutorial we will learn to install Apache, MySQL, PHP on macOS Mojave 10.14.
macOS Mojave
Apple released the new macOS Mojave 10.14 on 24th September 2018 and it includes Apache and PHP.
We will be using the pre-installed Apache and PHP and we will download and setup MySQL database.
Lets go ahead and configure our LAMP stack development environment on macOS Mojave.
Apache
The new macOS Mojave comes with Apache pre-installed. All we have to do is switch it on.
Open Terminal using macOS Spotlight or go to /Applications/Utilities and open Terminal.
To check the version of Apache installed run the following command in the Terminal.
$ httpd -v
macOS Mojave comes with Apache/2.4.34.
To start Apache web server run the following command.
$ sudo apachectl start
This command will start Apache server.
When you use sudo in the terminal then you will be prompted to enter your admin password to proceed.
If you want to stop the Apache server then run the following command.
$ sudo apachectl stop
And to restart Apache server run the following command.
$ sudo apachectl restart
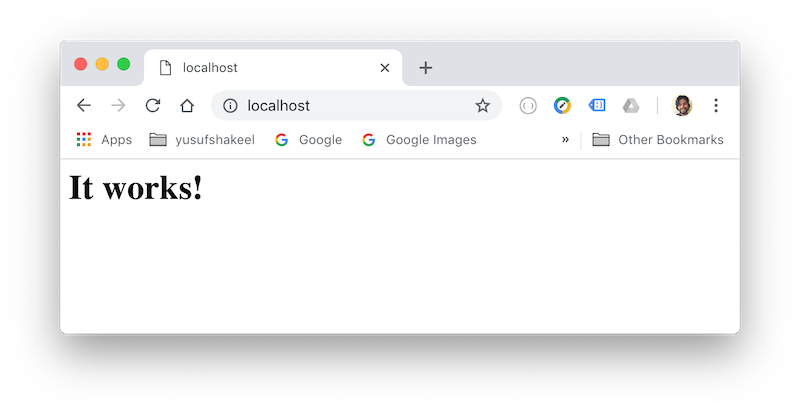
After starting Apache server go ahead and test it by opening a browser like Safari or Chrome and visit http://localhost.
You will get to see the following output in your browser.
In case you don't get to see the above output then run the following command to check the error.
$ sudo apachectl configtest
Document Root
This is the location in the computer file system from where the files are accessed when we visit the localhost in a browser.
Document Root is a directory where we put our website files.
On Mac we have two document root. One is at the system level and the other is at the user level.
System level document root
The system level document root in macOS Mojave is located in the following directory.
/Library/WebServer/Documents/
User level document root
For the user level we can create a directory called Sites in user directory.
Creating Sites directory
Run the following command to switch to the user home directory.
$ cd
Now, run the following command to create the Sites directory.
$ mkdir Sites
For me the user document root path is the following.
/Users/yusufshakeel/Sites
Creating username.conf file
Now, its time to create a username.conf file which will help in configuring our document root.
Note! Replace the username with your username.
For example, my username is yusufshakeel so, my file is yusufshakeel.conf.
Type the whoami command in the terminal and it will tell you your username.
Open terminal and go to the following directory.
$ cd /etc/apache2/users/
Now create the configuration file username.conf inside the users directory.
In the following example I am using vi editor. You can use other editors like vim or nano.
$ sudo vi yusufshakeel.conf
Press the i key to enter into INSERT mode. Now, type the following inside the file.
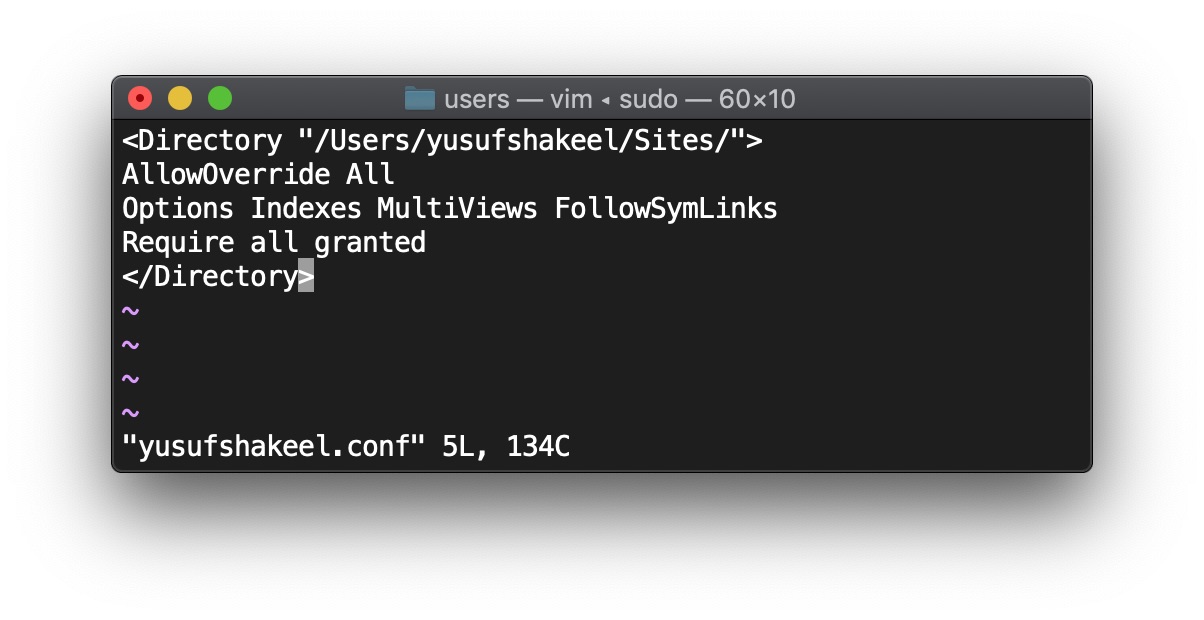
<Directory "/Users/YOUR_USER_NAME/Sites/">
AllowOverride All
Options Indexes MultiViews FollowSymLinks
Require all granted
</Directory>
Don't forget to replace YOUR_USER_NAME with your username.
Here is what I have written in my yusufshakeel.conf file.
Now, to come out of the INSERT mode press the Esc key. And to save the file and exit type the following :wq and hit Enter.
The permission of this file should be the following.
-rw-r--r-- 1 root wheel 134 Sep 26 17:23 yusufshakeel.conf
If not, then use the following command to change its permission.
$ sudo chmod 644 username.conf
Where, username is your username that you have set earlier.
Configuring the httpd.conf file
Type the following command in the terminal and go to apache2 directory.
$ cd /etc/apache2/
Inside this directory we have the httpd.conf file.
As a good practice we will make a backup copy of the httpd.conf file by typing the following command in the terminal.
$ sudo cp httpd.conf httpd.conf.backup
Now open the httpd.conf file using vi and uncomment the following lines.
$ sudo vi httpd.conf
To uncomment the following lines remove the # from the start of the line.
LoadModule authz_core_module libexec/apache2/mod_authz_core.so
LoadModule authz_host_module libexec/apache2/mod_authz_host.so
LoadModule userdir_module libexec/apache2/mod_userdir.so
LoadModule include_module libexec/apache2/mod_include.so
LoadModule rewrite_module libexec/apache2/mod_rewrite.so
Uncomment the following line for User home directories.
Include /private/etc/apache2/extra/httpd-userdir.conf
Now change the DocumentRoot.
Find the following lines and comment them by adding # at the beginning of the line.
# DocumentRoot "/Library/WebServer/Documents"
# <Directory "/Library/WebServer/Documents">
And add the following two lines below the commented lines.
DocumentRoot "/Users/YOUR_USERNAME/Sites/"
<Directory "/Users/YOUR_USERNAME/Sites/">
Don't forget to replace YOUR_USERNAME with your username.
And set the AllowOverride None to AllowOverride All.
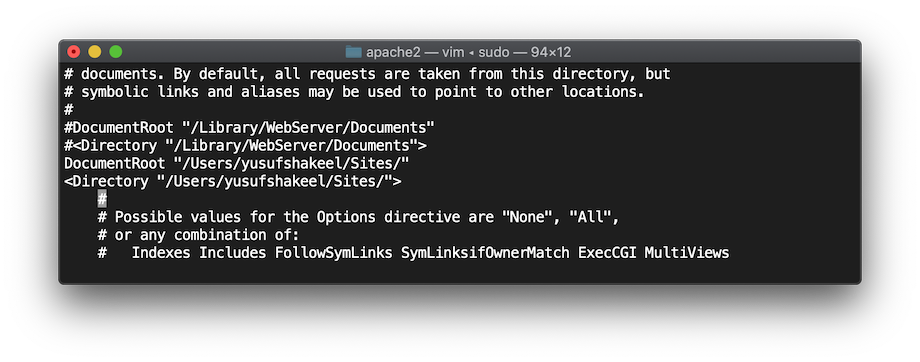
Your DocumentRoot should now look something like the following.
#DocumentRoot "/Library/WebServer/Documents"
#<Directory "/Library/WebServer/Documents">
DocumentRoot "/Users/yusufshakeel/Sites/"
<Directory "/Users/yusufshakeel/Sites/">
    Options FollowSymLinks Multiviews
    MultiviewsMatch Any
    AllowOverride All
    Require all granted
</Directory>
Now, come out of the INSERT mode by pressing the Esc key. And save and exit the file by typing :wq key and then Enter.
Configuring the httpd-userdir.conf file
Now, we will make some changes in the httpd-userdir.conf file.
Type the following command in the terminal to go to the extra directory.
$ cd /etc/apache2/extra/
As a good practice we will first create a backup copy of the httpd-userdir.conf file. Type the following command to create a backup copy.
$ sudo cp httpd-userdir.conf httpd-userdir.conf.backup
Now open the file using vi.
$ sudo vi httpd-userdir.conf
Uncomment the following line.
Include /private/etc/apache2/users/*.conf
Now check that everything is configured properly by typing the following command in the terminal.
$ sudo apachectl configtest
Syntax OK
And then restart Apache using the following command.
$ sudo apachectl restart
PHP
macOS Mojave comes with PHP 7.1.x pre-installed.
To check the version of PHP in the Terminal type the following command.
$ php -v
Alright, type the following command in the terminal to go to apache2 directory.
$ cd /etc/apache2/
Open the httpd.conf file.
$ sudo vi httpd.conf
Enter into INSERT mode by pressing the i key and uncomment the following line to run PHP 7 by removing the # sign from the start of the line.
LoadModule php7_module libexec/apache2/libphp7.so
Now, save the changes and exit the file by typing :wq keys and hit Enter.
You can now restart Apache by running the following command.
$ sudo apachectl restart
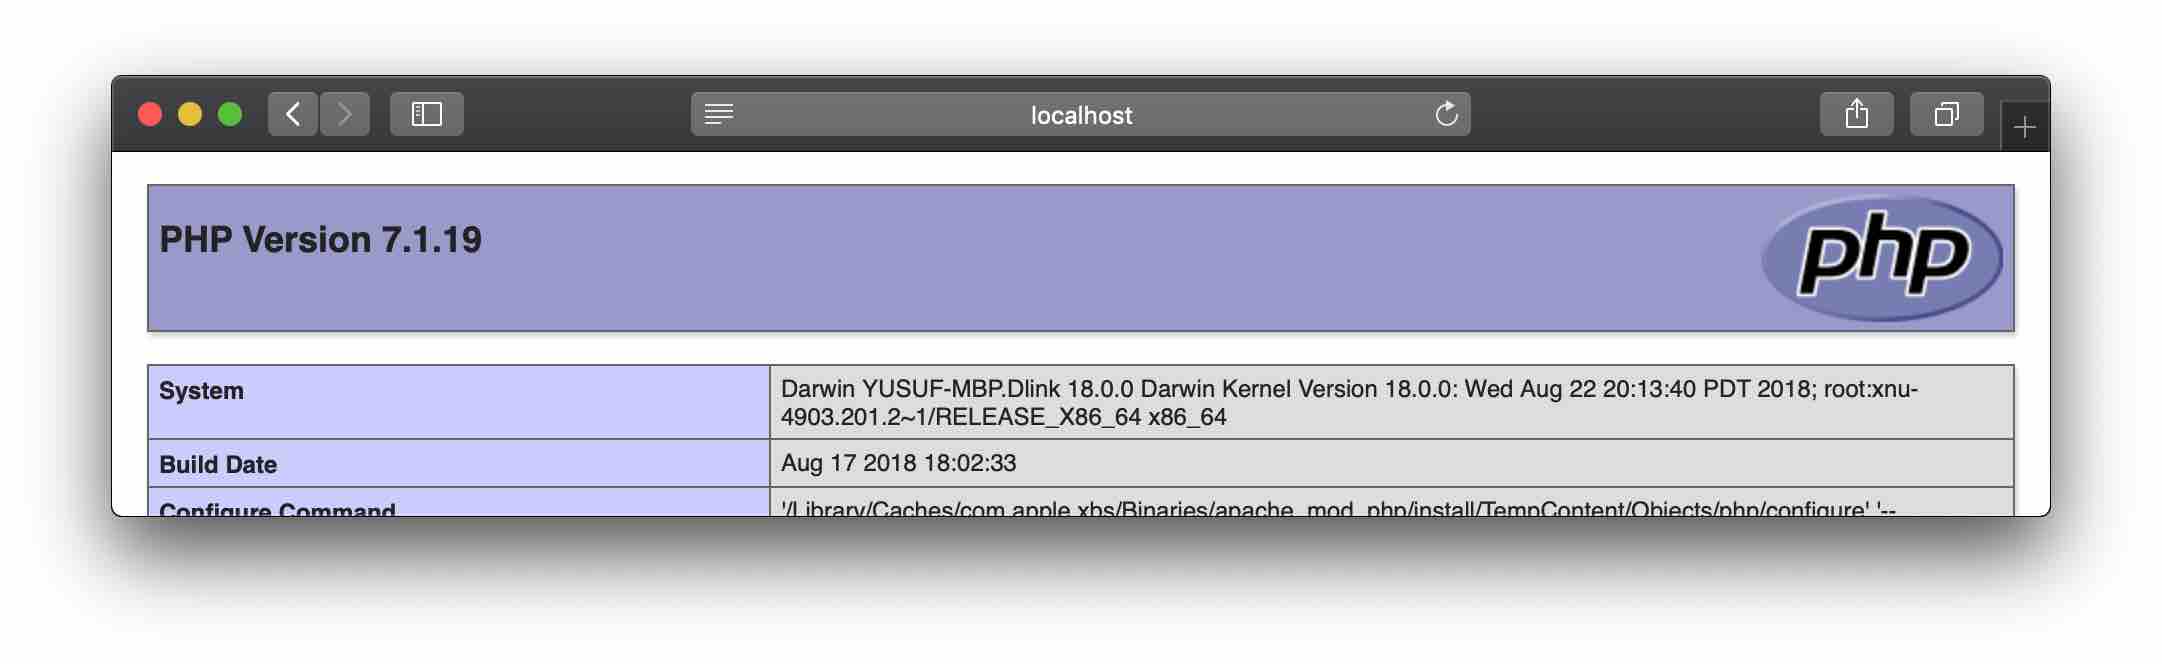
Printing phpinfo
Create index.php file inside the Sites directory by running the following command.
$ touch ~/Sites/index.php
Now open this file in your favourite text editor or PHP IDE and write the following code.
<?php
phpinfo();
Now, visit http://localhost and you will get to see a similar output.
Download MySQL community server
Head over to mysql.com website and download the latest version of the MySQL Community Server.
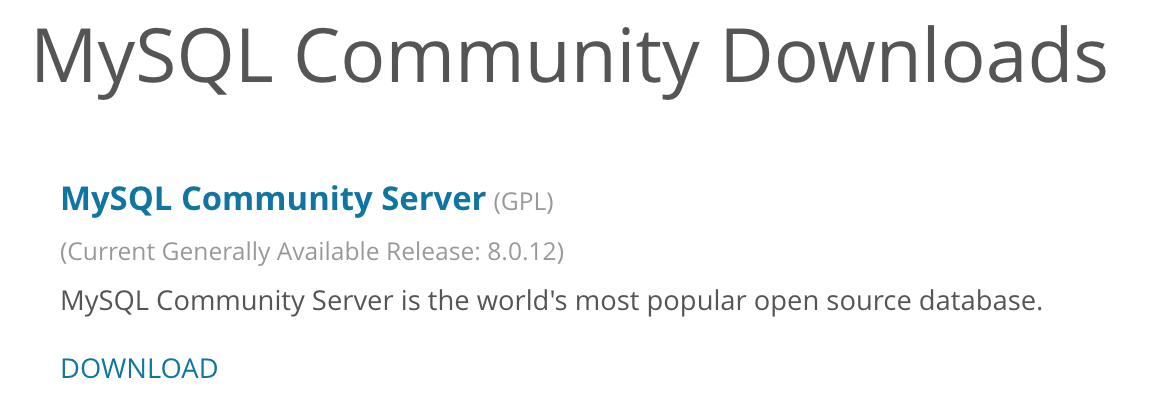
Download and run the installer and follow the steps to install MySQL database on your Mac.
Set the root password when prompted and note it down.
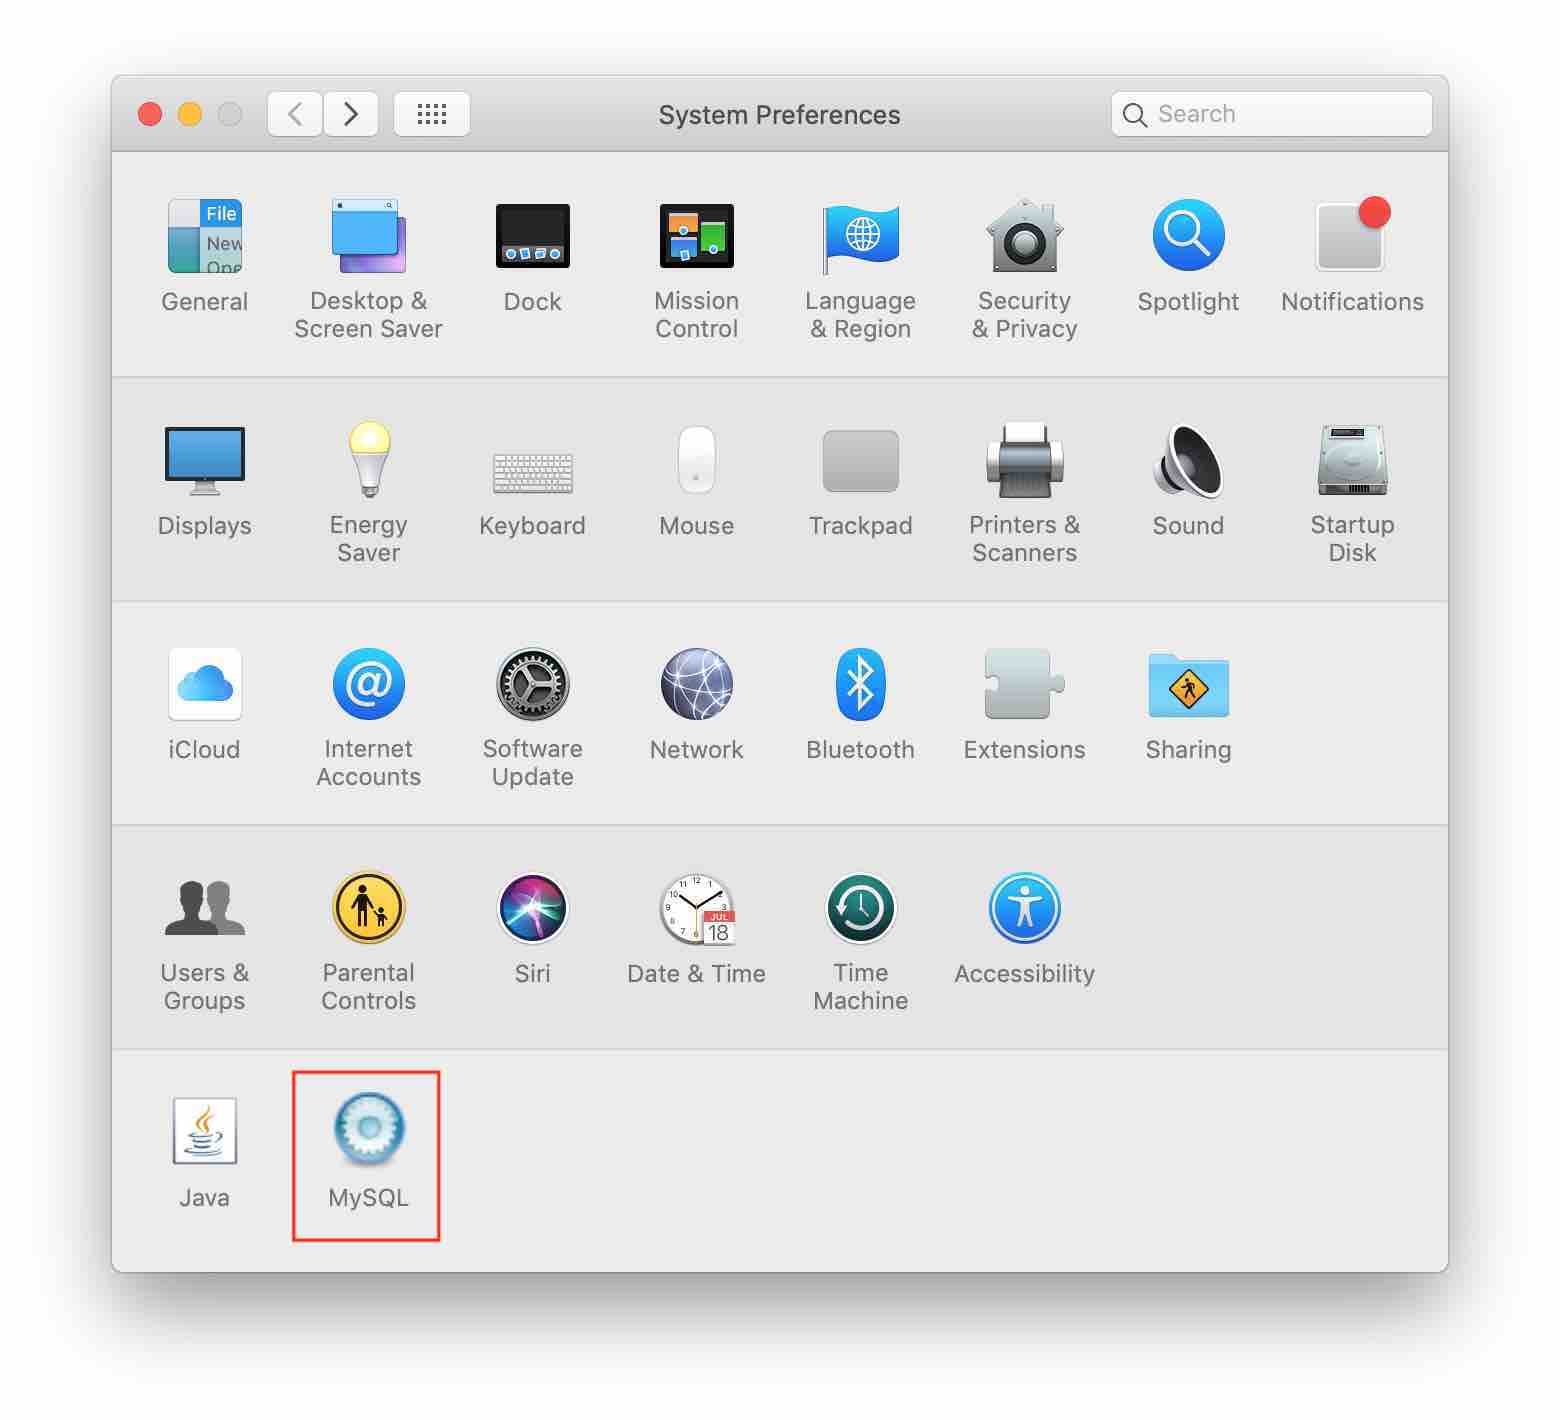
To run MySQL server open System Preferences and go to MySQL.
Click on the Start MySQL Server button to start the server.
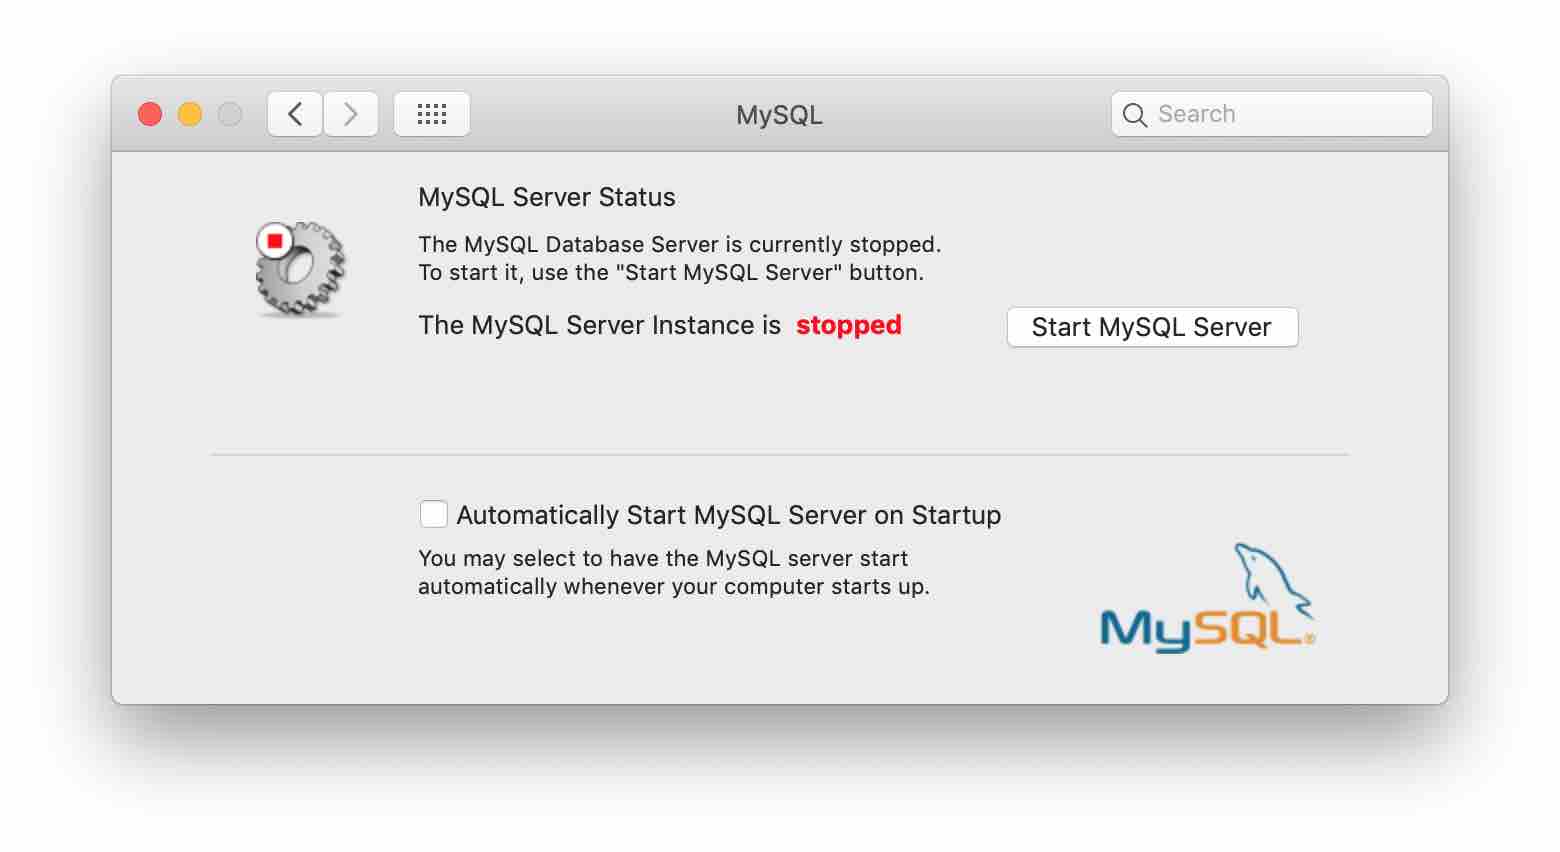
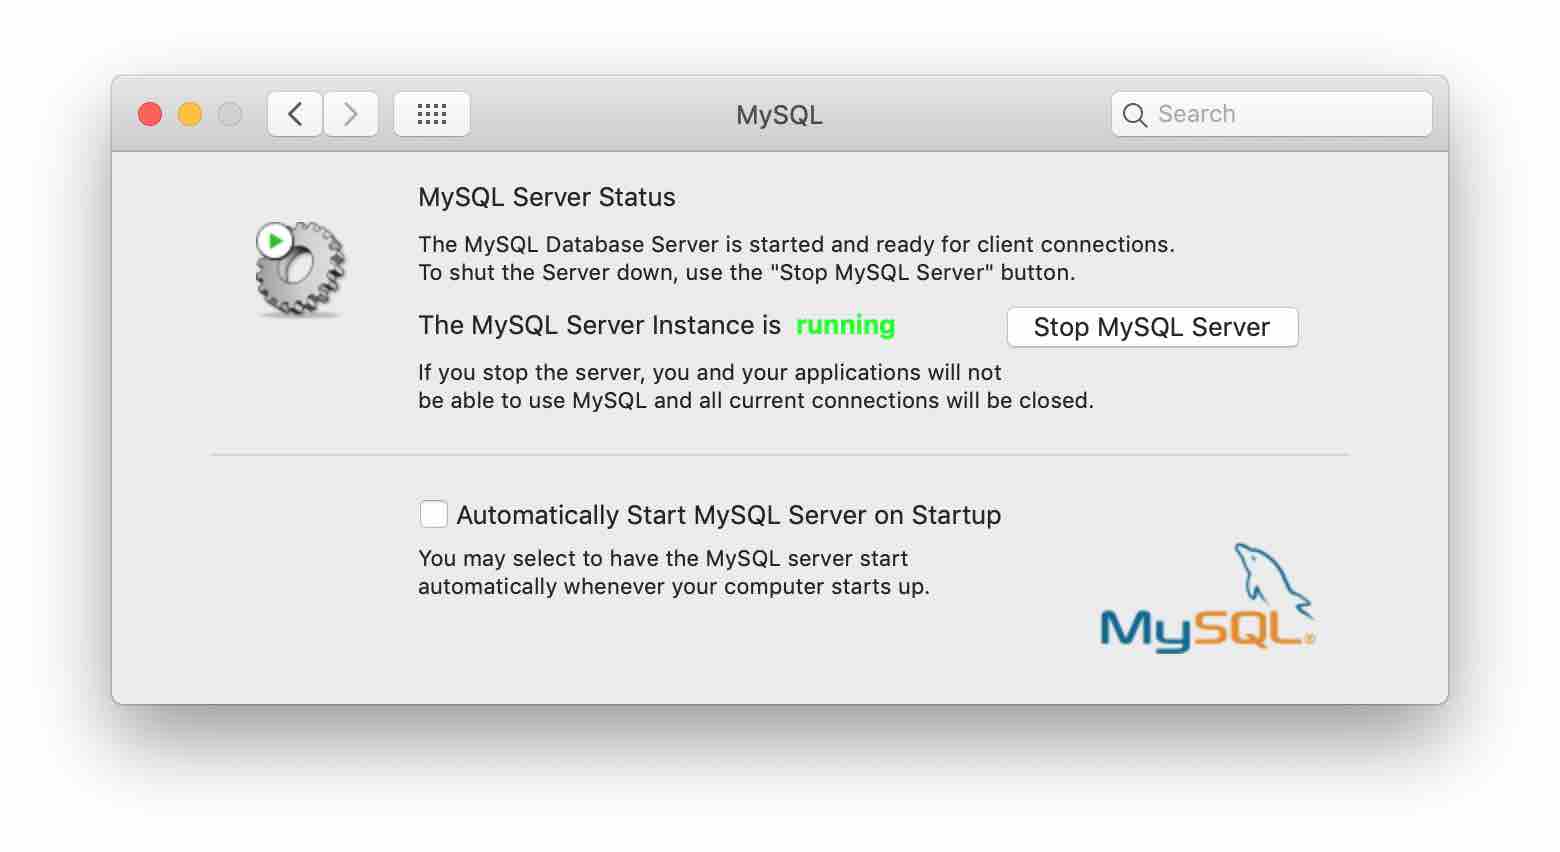
You will be asked to enter your admin password. Enter the password and the MySQL server will start running.
Extra
To access your MySQL database tables you can either use phpMyAdmin, MySQL Workbench or Sequel Pro.
Alright, this brings us to the end of this tutorial. Hope this helped. Please share if you find this website useful. Have fun developing. See you in the next tutorial.
ADVERTISEMENT