Sketch - How to create Gift icon in Sketch
Sketch
In this tutorial we will learn to create GIFT icon using Sketch.
Click here to watch the YouTube playlist.
Contents
- Step 1: Create artboard
- Step 2: A big rectangle
- Step 3: Flat horizontal rectangle
- Step 4: Circle for the ribbon
- Step 5: Editing the circle
- Step 6: Two circles for ribbon
- Step 7: White ribbon
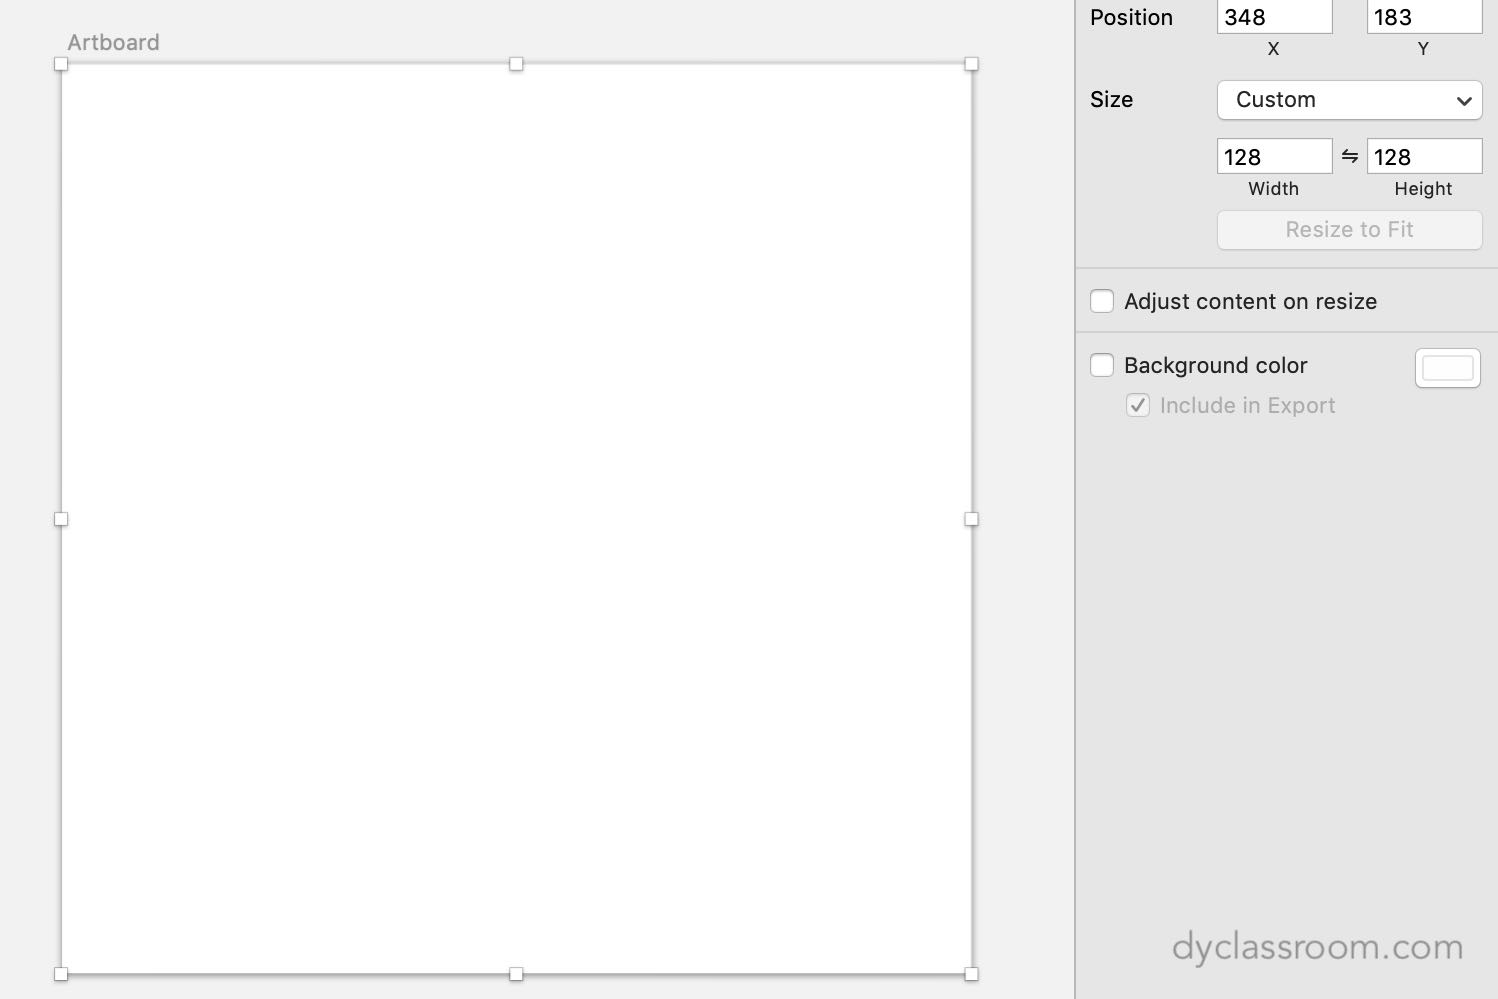
Step 1: Create artboard
Like always, open Sketch and create a new Artboard.
Click on Insert and then select Artboard or hit the A key on your keyboard and you will be able to create an artboard.
Now draw a square artboard having width 128px and height 128px.
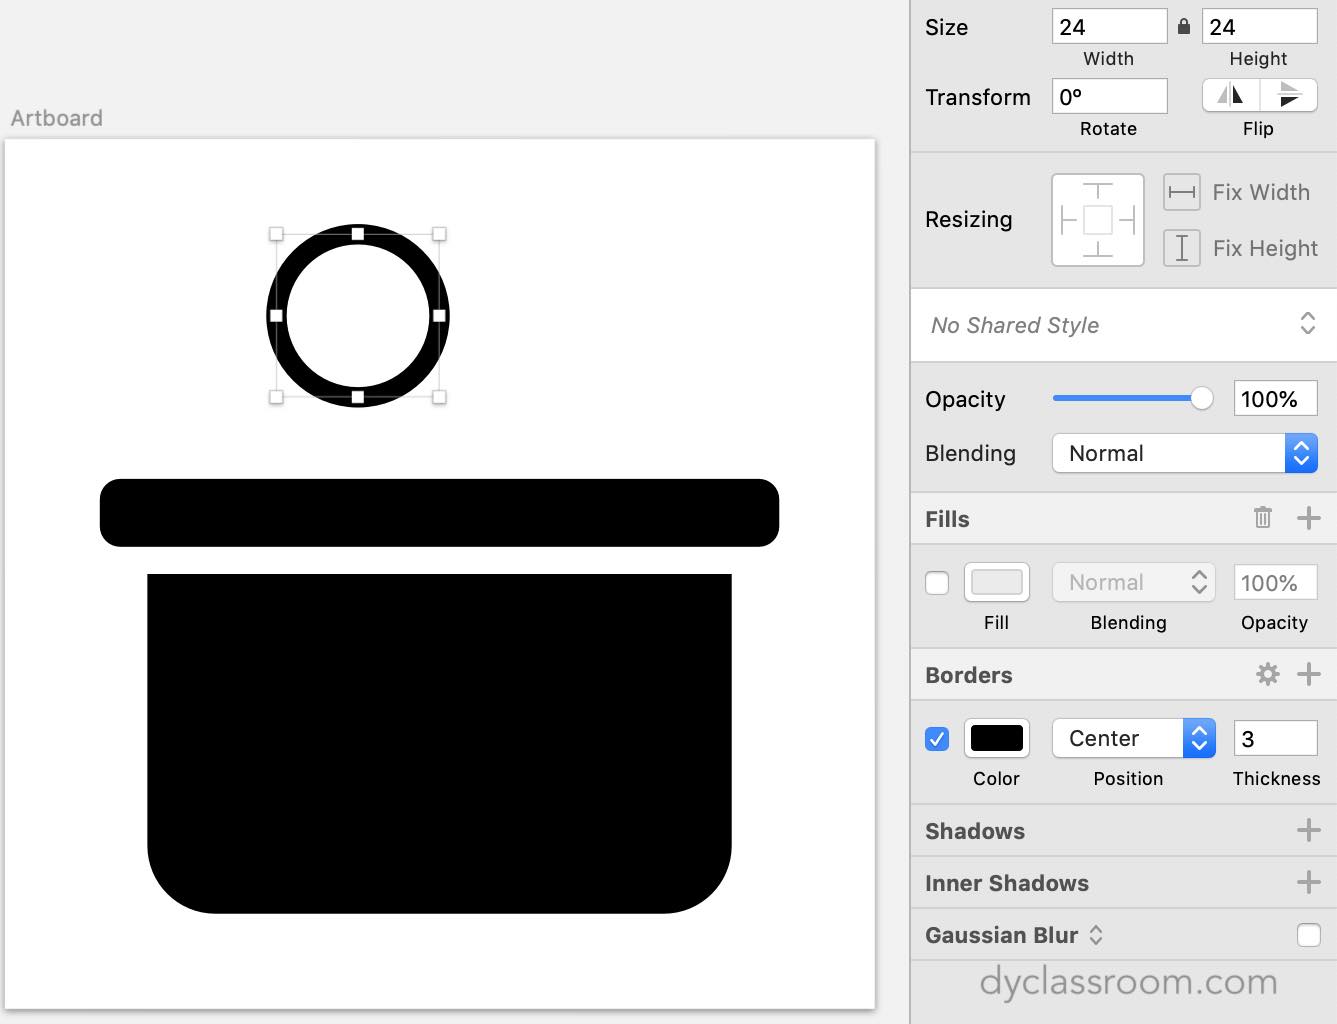
Step 2: A big rectangle
Now create a rectangle having width 86px and height 50px and place it at the bottom of the artboard.
Go to Insert then select Shape and then click on Rectangle or simply hit the R key on your keyboard to draw a rectangle.
Remove the Borders from the right side menu and fill the rectangle with black color by setting the Fills to #000 which is hex code for black.
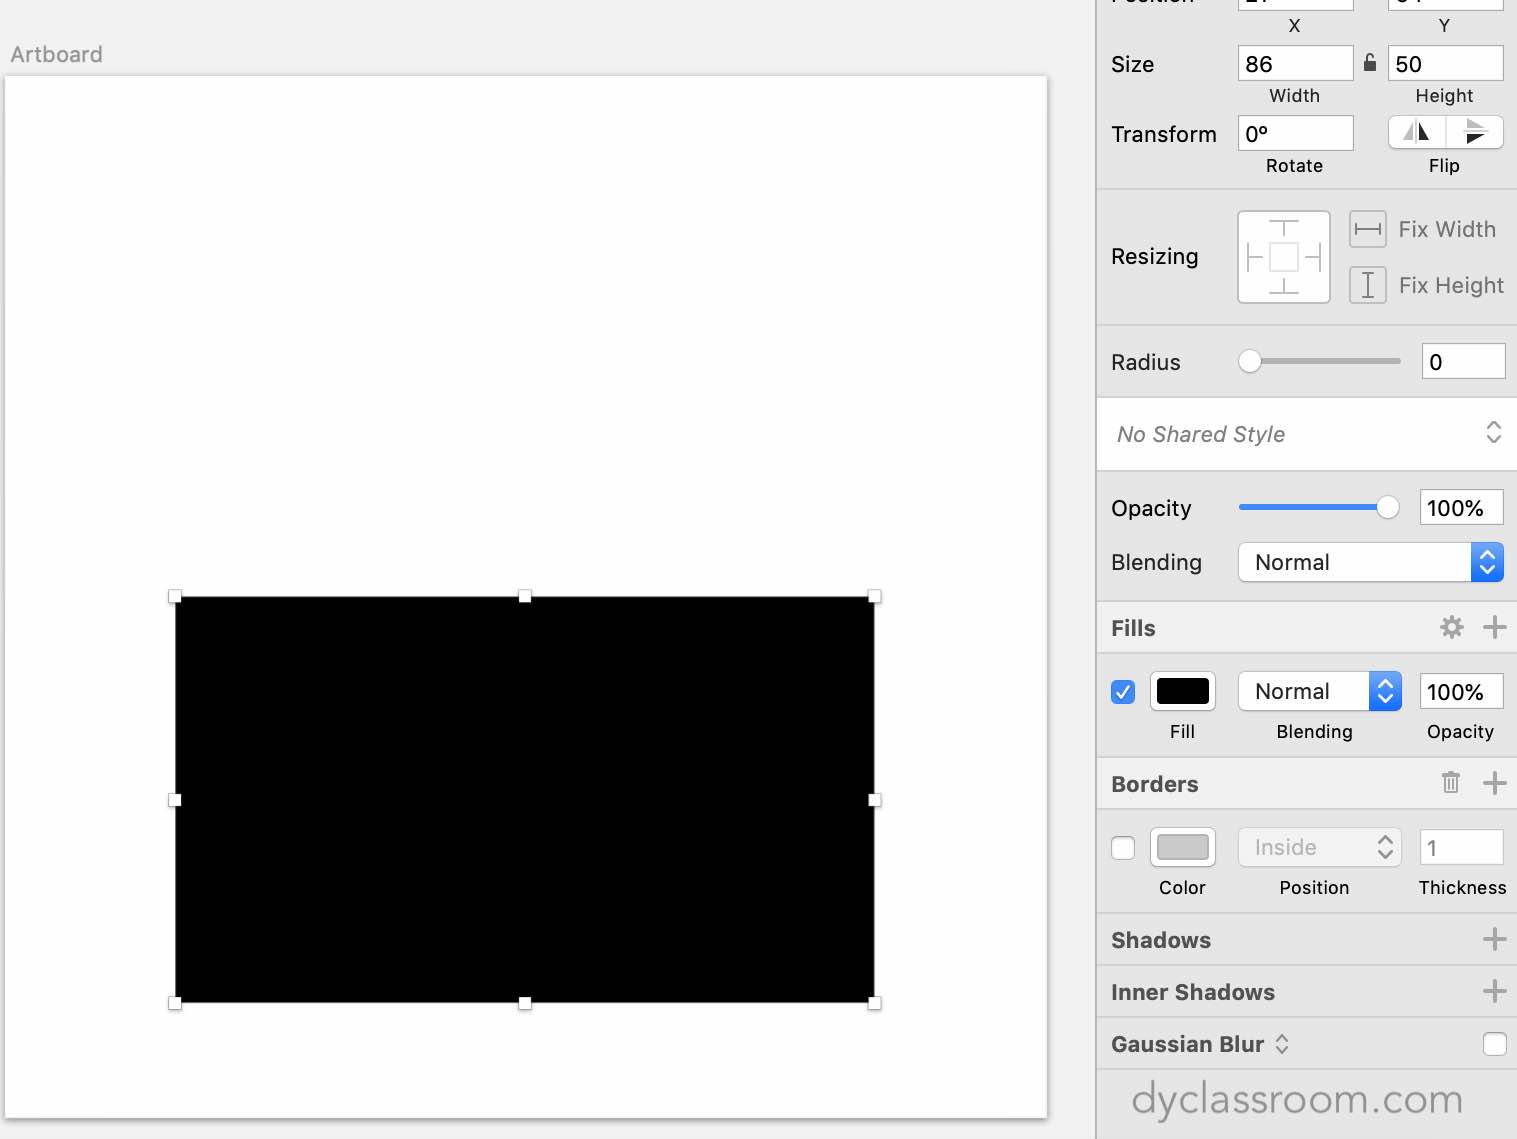
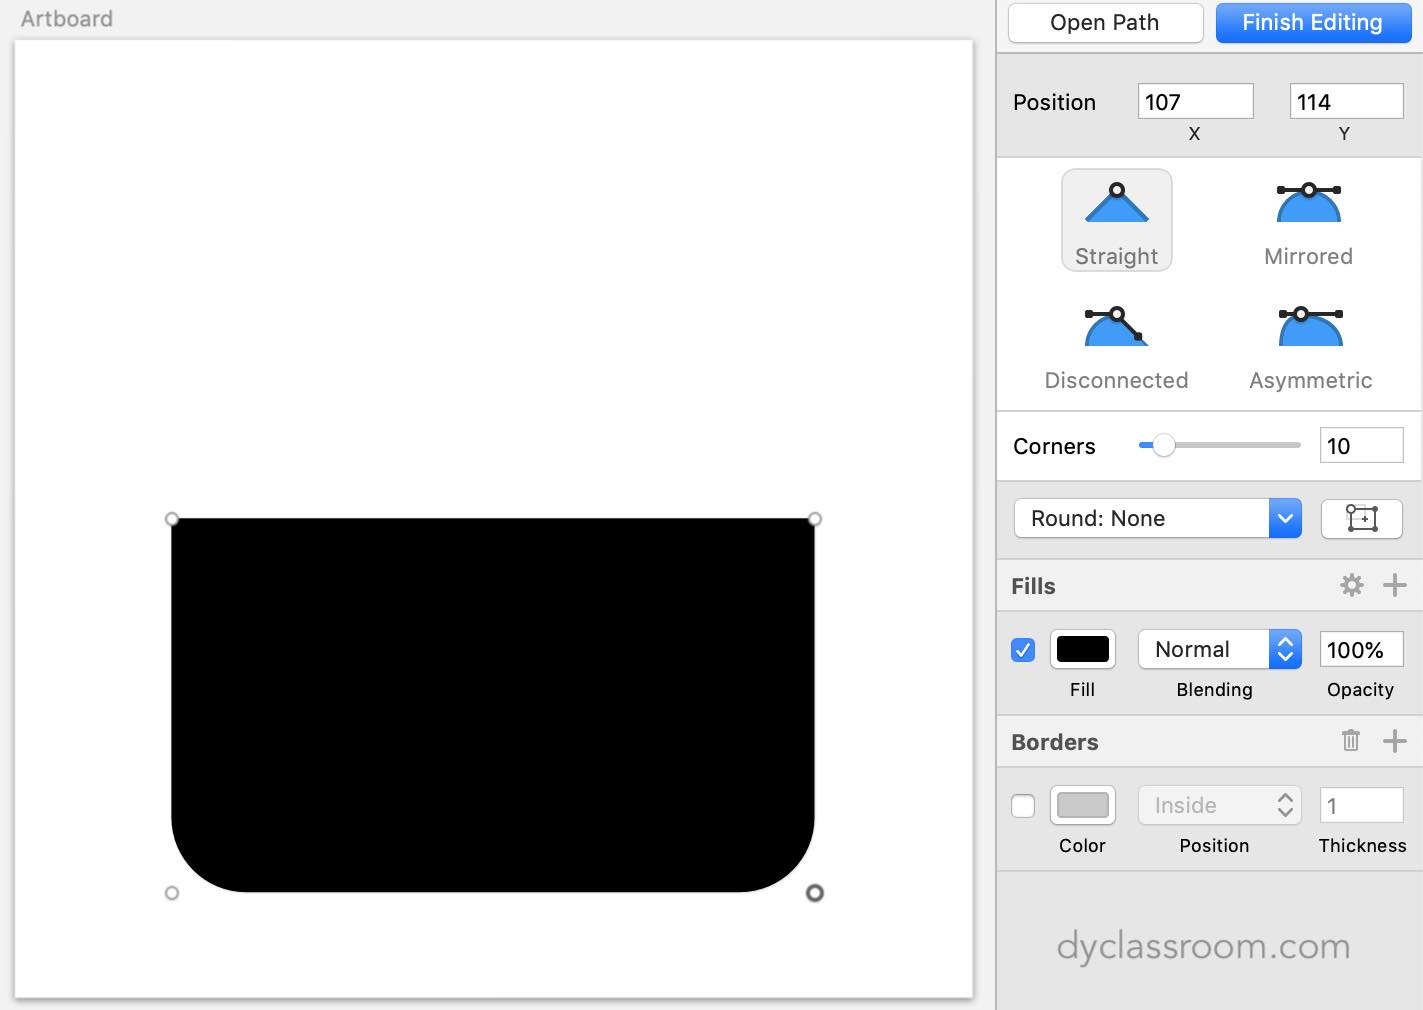
Now, double click on the rectangle and you will get the corner points. Select the bottom left and bottom right points and set the Corners to 10 units.
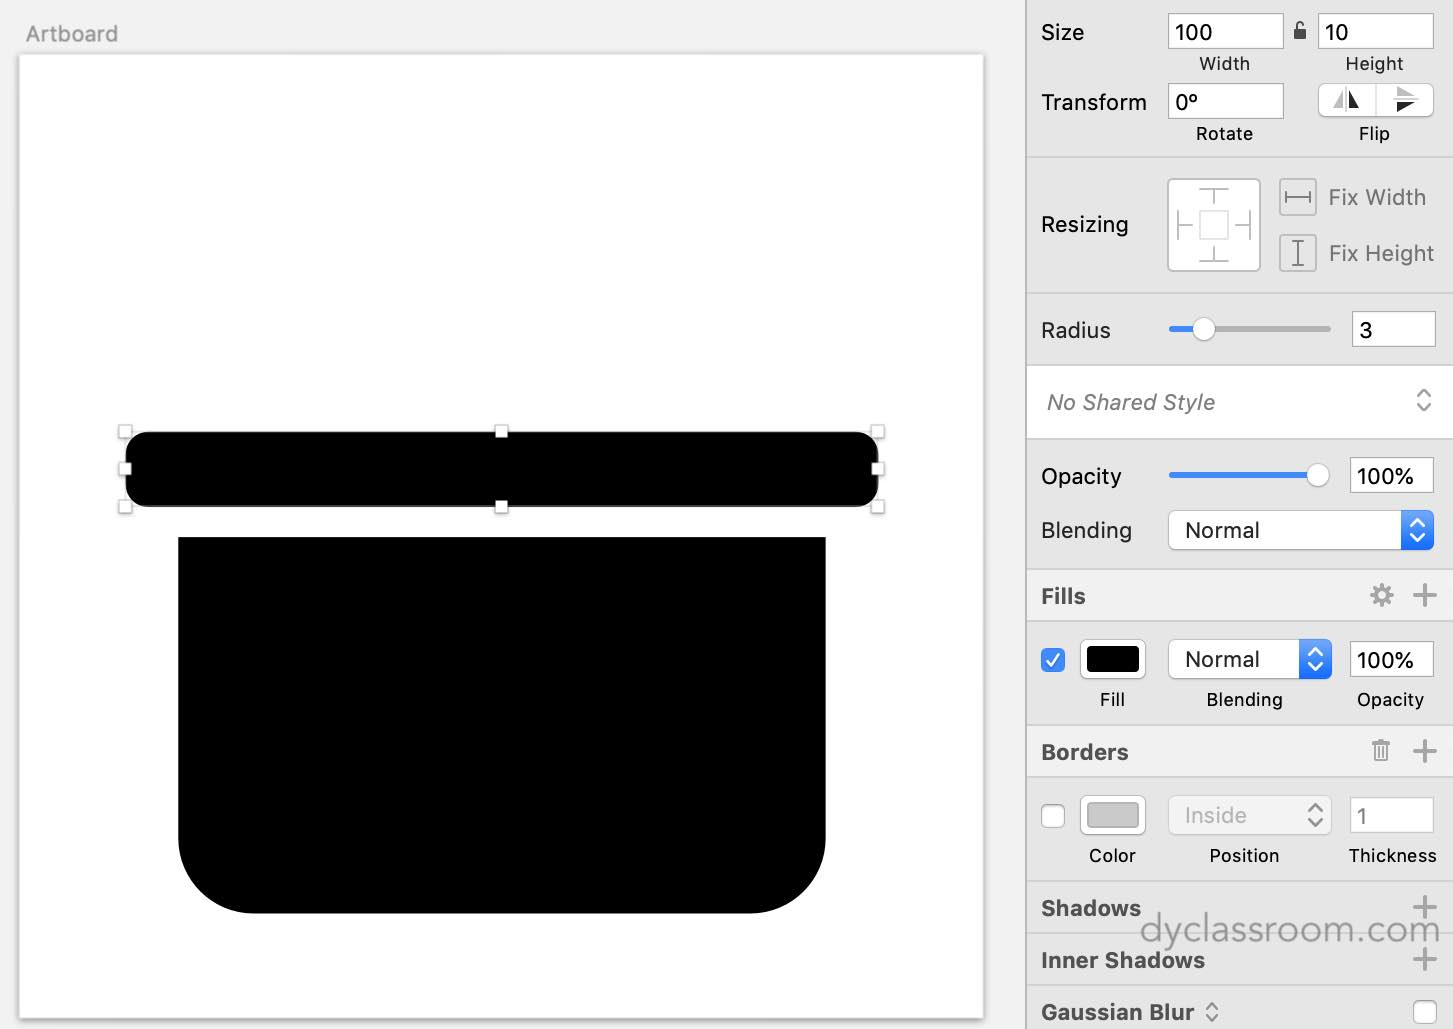
Step 3: Flat horizontal rectangle
Now, draw another rectangle having width 100px and height 10px.
Remove the Borders and set the Fills to #000 for black color.
Set the Radius to 3 units.
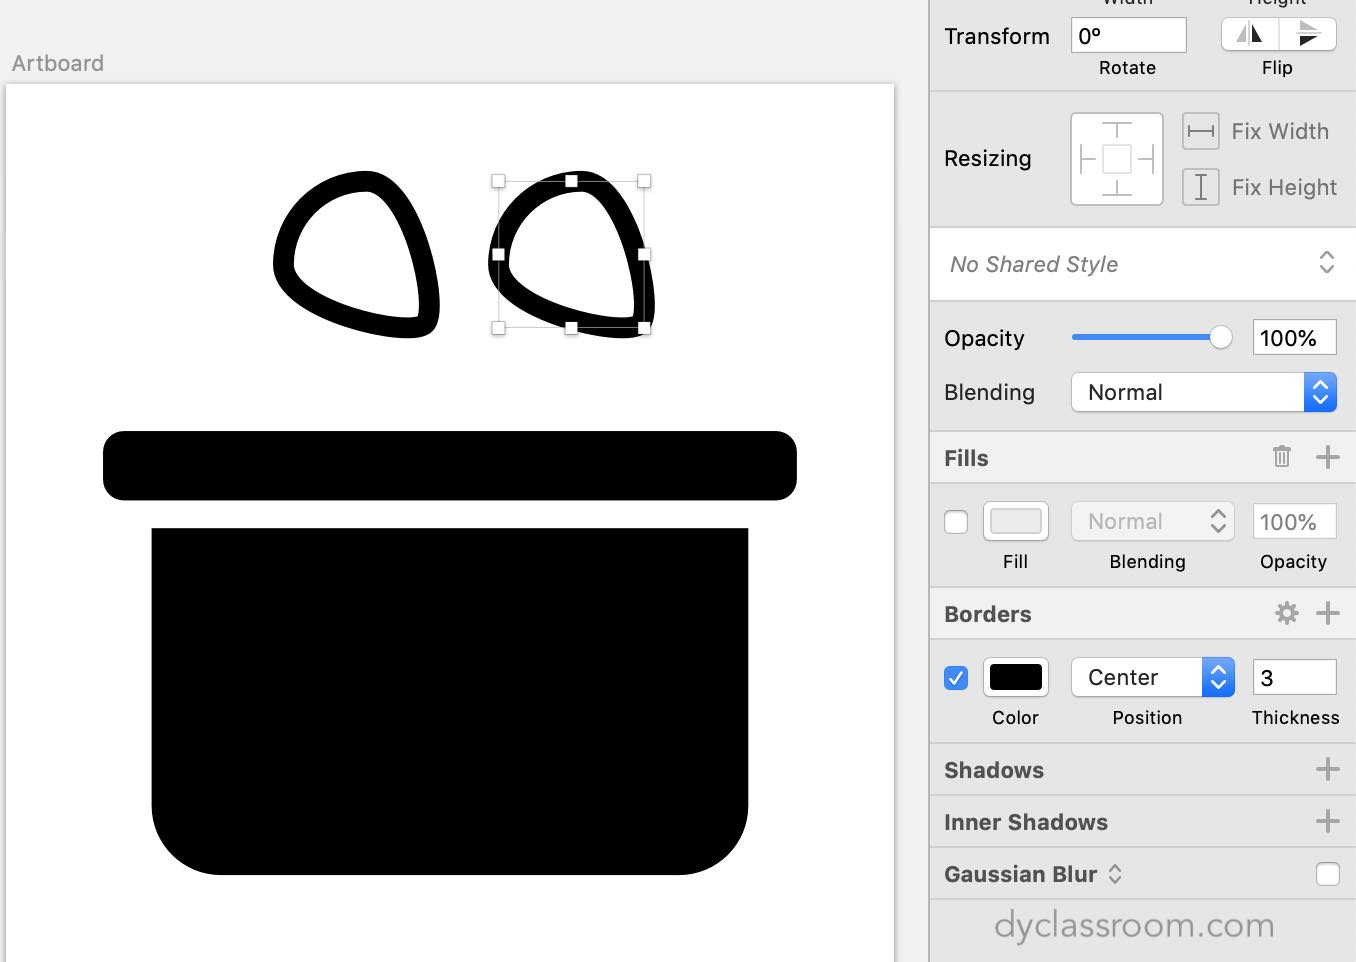
Step 4: Circle for the ribbon
To create the ribbon shape we will draw a circle having diameter of 24px.
Go to Insert then select Shape and then click on Oval or simply hit the O key on your keyboard to draw the circle.
Make sure you hold the Shift key while drawing the circle. This will help you get a perfect circle. Do check that both the width and height of the circle on the right side menu is equal to 24px.
Remove the Fills and set the Borders color to black #000, position to Center and thickness to 3 units.
The circle should look something like the following.
Step 5: Editing the circle
Now we will edit the circle that we created in Step 4.
Click on the top and left scale to draw two red lines that passes through the center of the circle.
Double click the circle and place a new point at the bottom right quadrant on the circle.
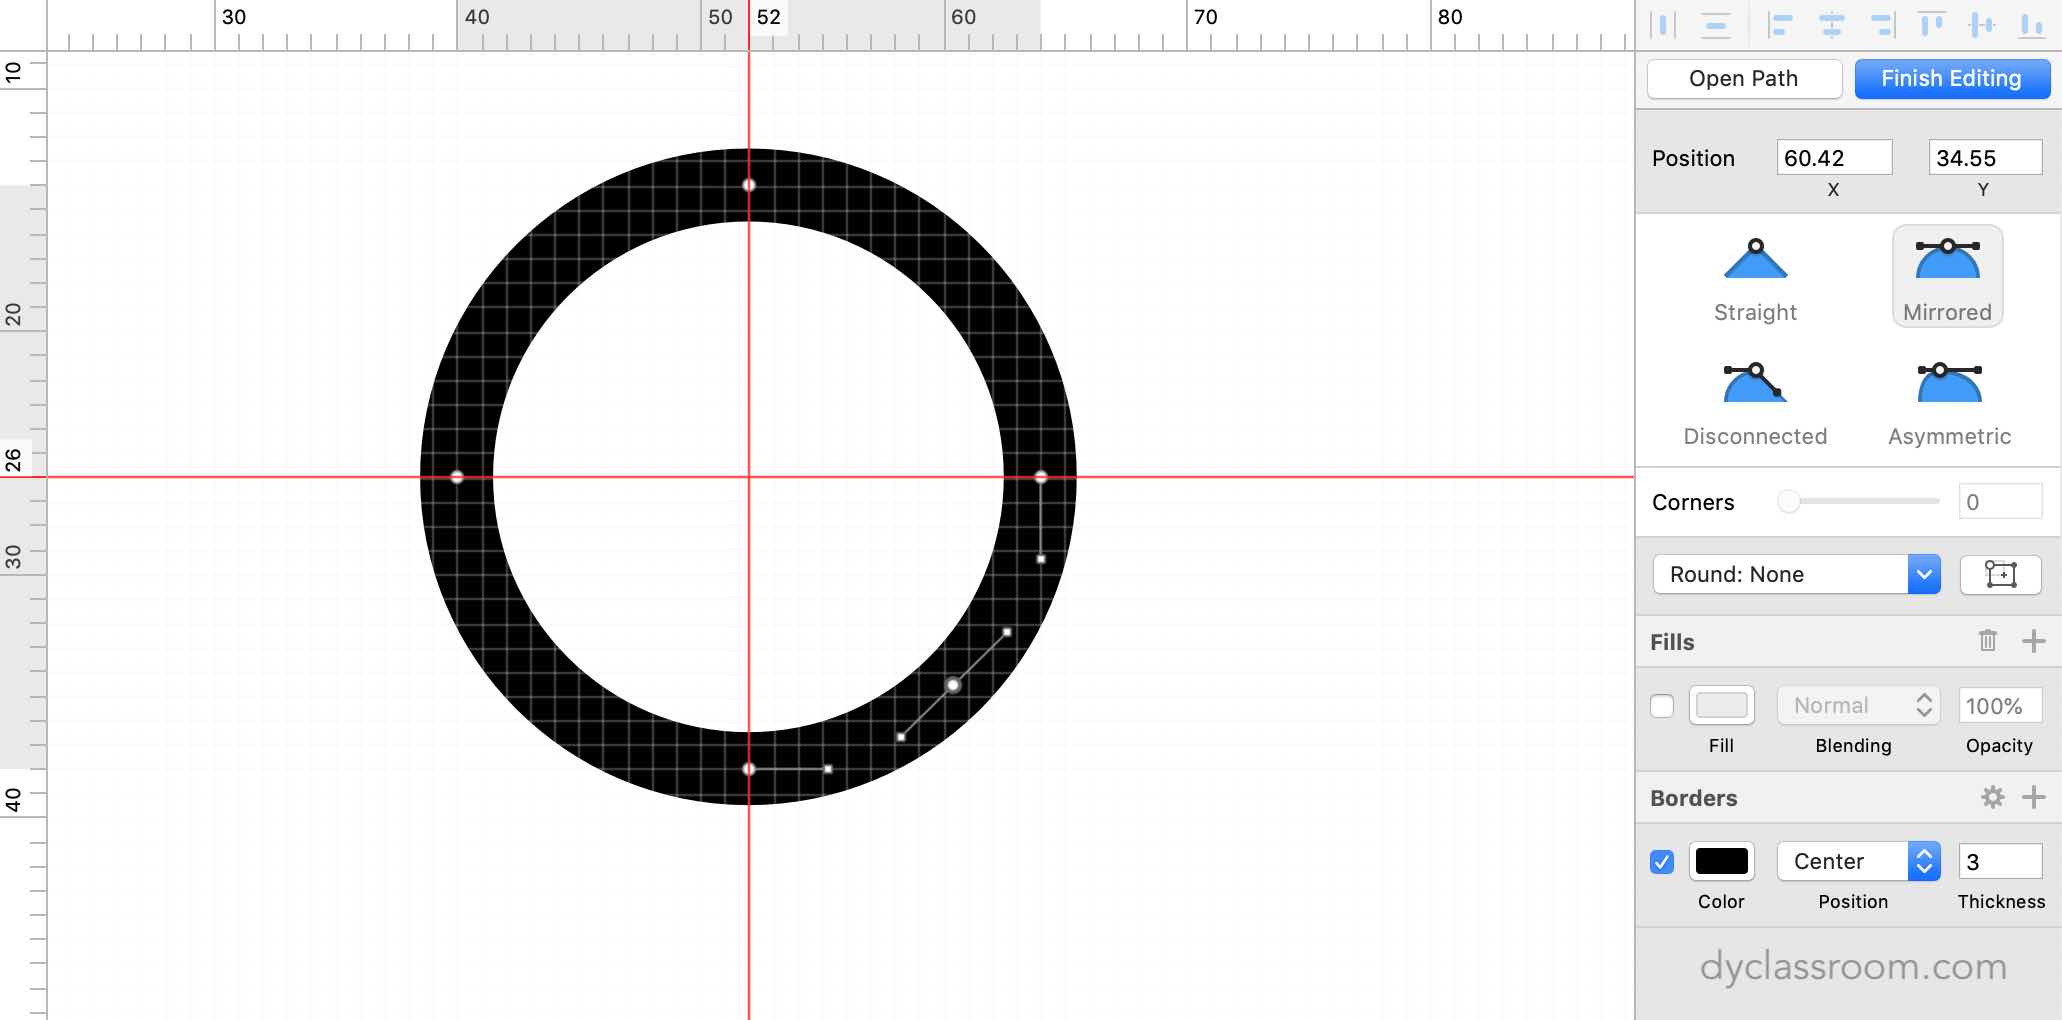
Now, select the bottom point of the circle and then from the right side menu select Asymmetric and then delete it. The circle will now look like the following.
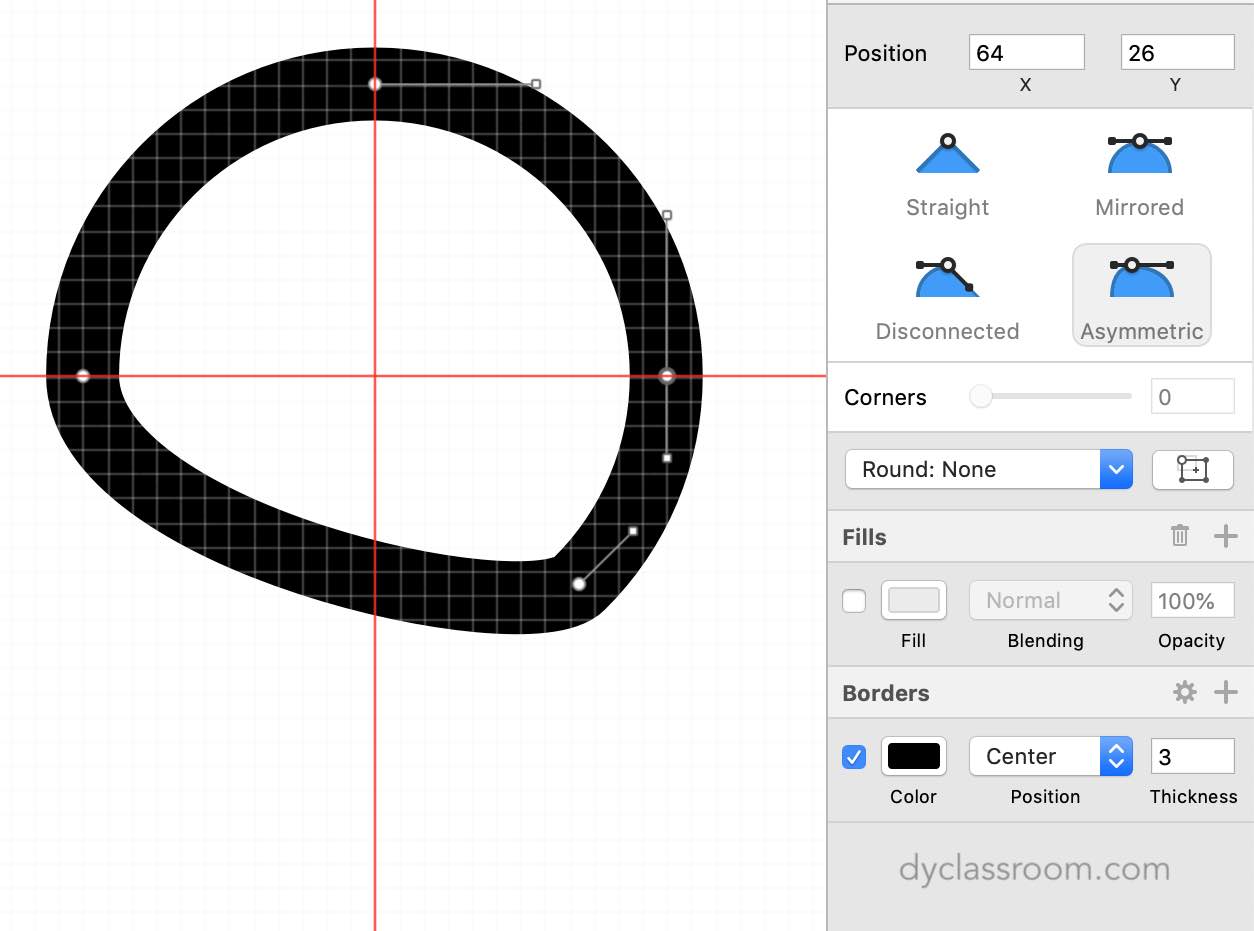
Now, select the right point of the circle and then from the right side menu select Asymmetric and then delete it. The circle will now look like the following.
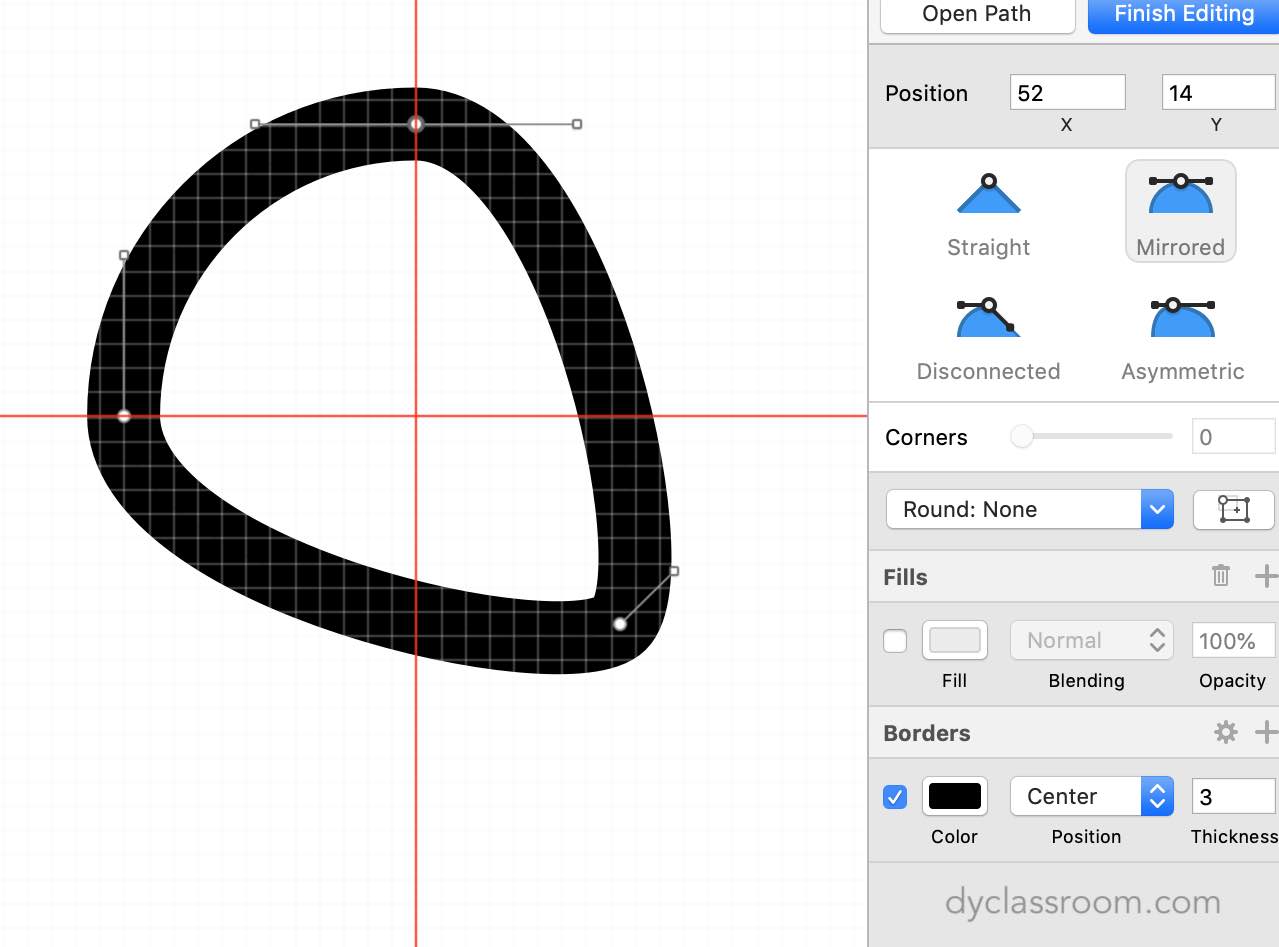
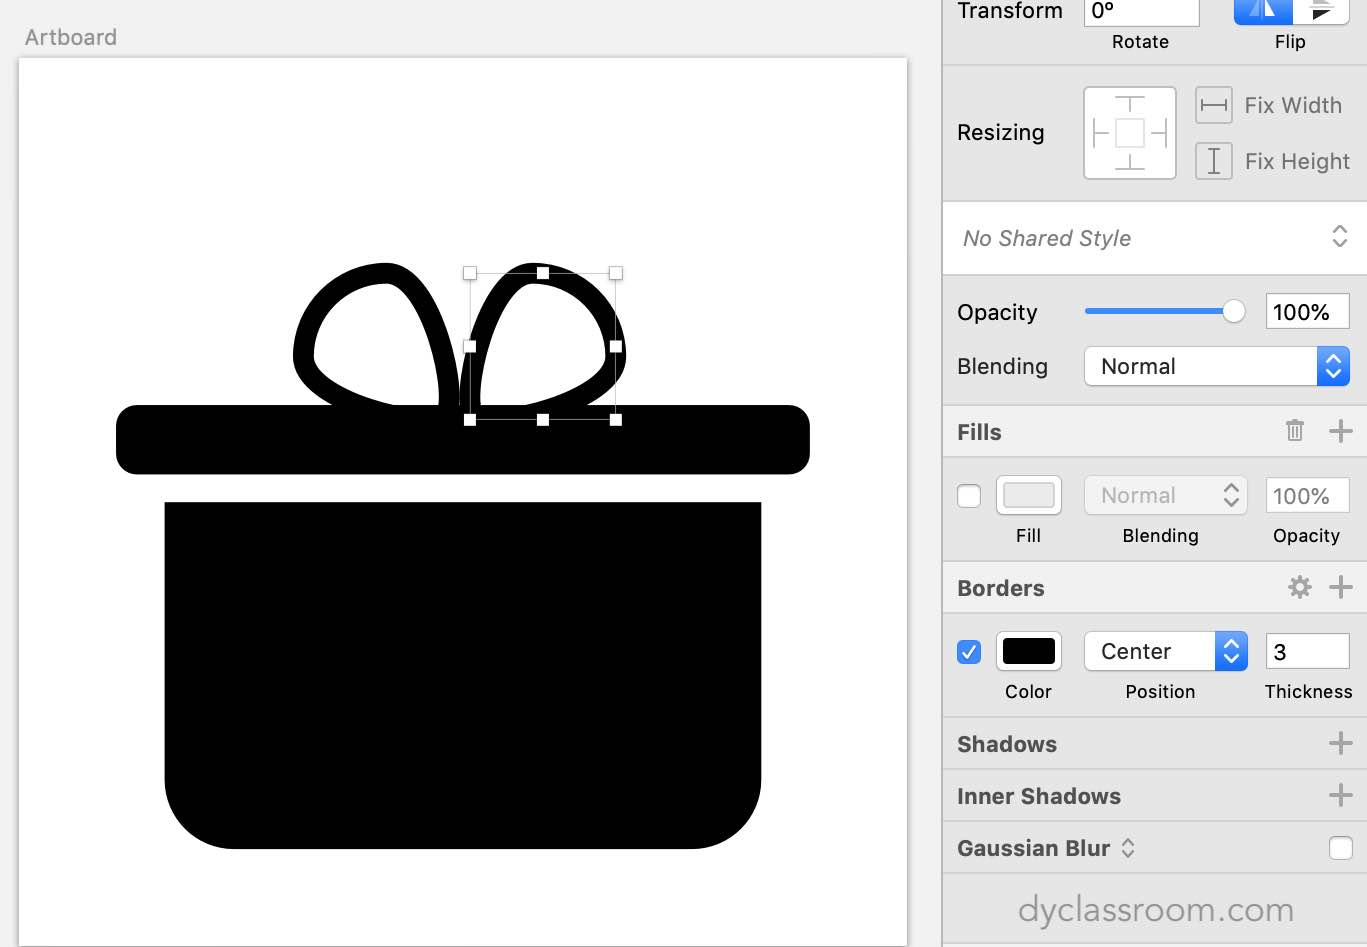
Step 6: Two circles for ribbon
Make a copy of the circle that we created in Step 5 by selecting it and then pressing Cmd + C key and then Cmd + V.
Now, flip the second circle by clicking on Flip Horizontally option from the right side or go to Layers then select Transform and then click on Flip Horizontally.

Now place the edited circles on top of the flat horizontal rectangle.
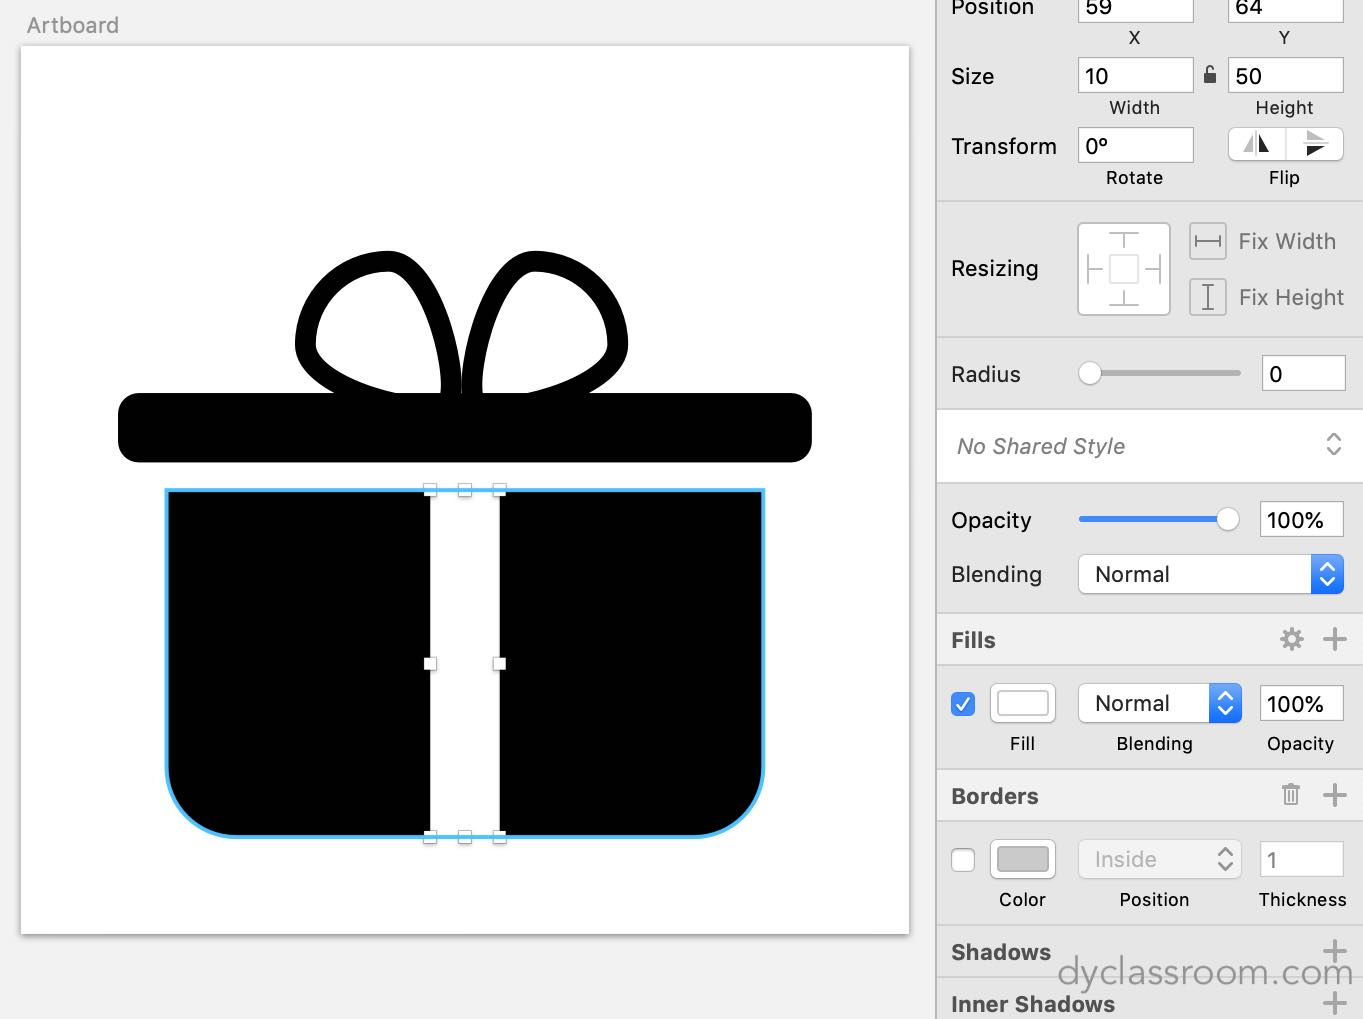
Step 7: White ribbon
We will now draw a small vertical rectangle at the center of the bigger rectangle created in step 2.
Set the width of the rectangle to 10px and height to 50px. Remove the Borders and set the Fills to white color using hex value #fff.
Congratulation!!! You have successfully created the gift icon.
Want to get more icons for FREE. Check out dyIcons project.
Have fun designing.
ADVERTISEMENT